
Pot Light Layout & Spacing
Determine fixture quantity and position from ceiling height, beam spread, furniture, work surfaces and room use—not one universal spacing rule.
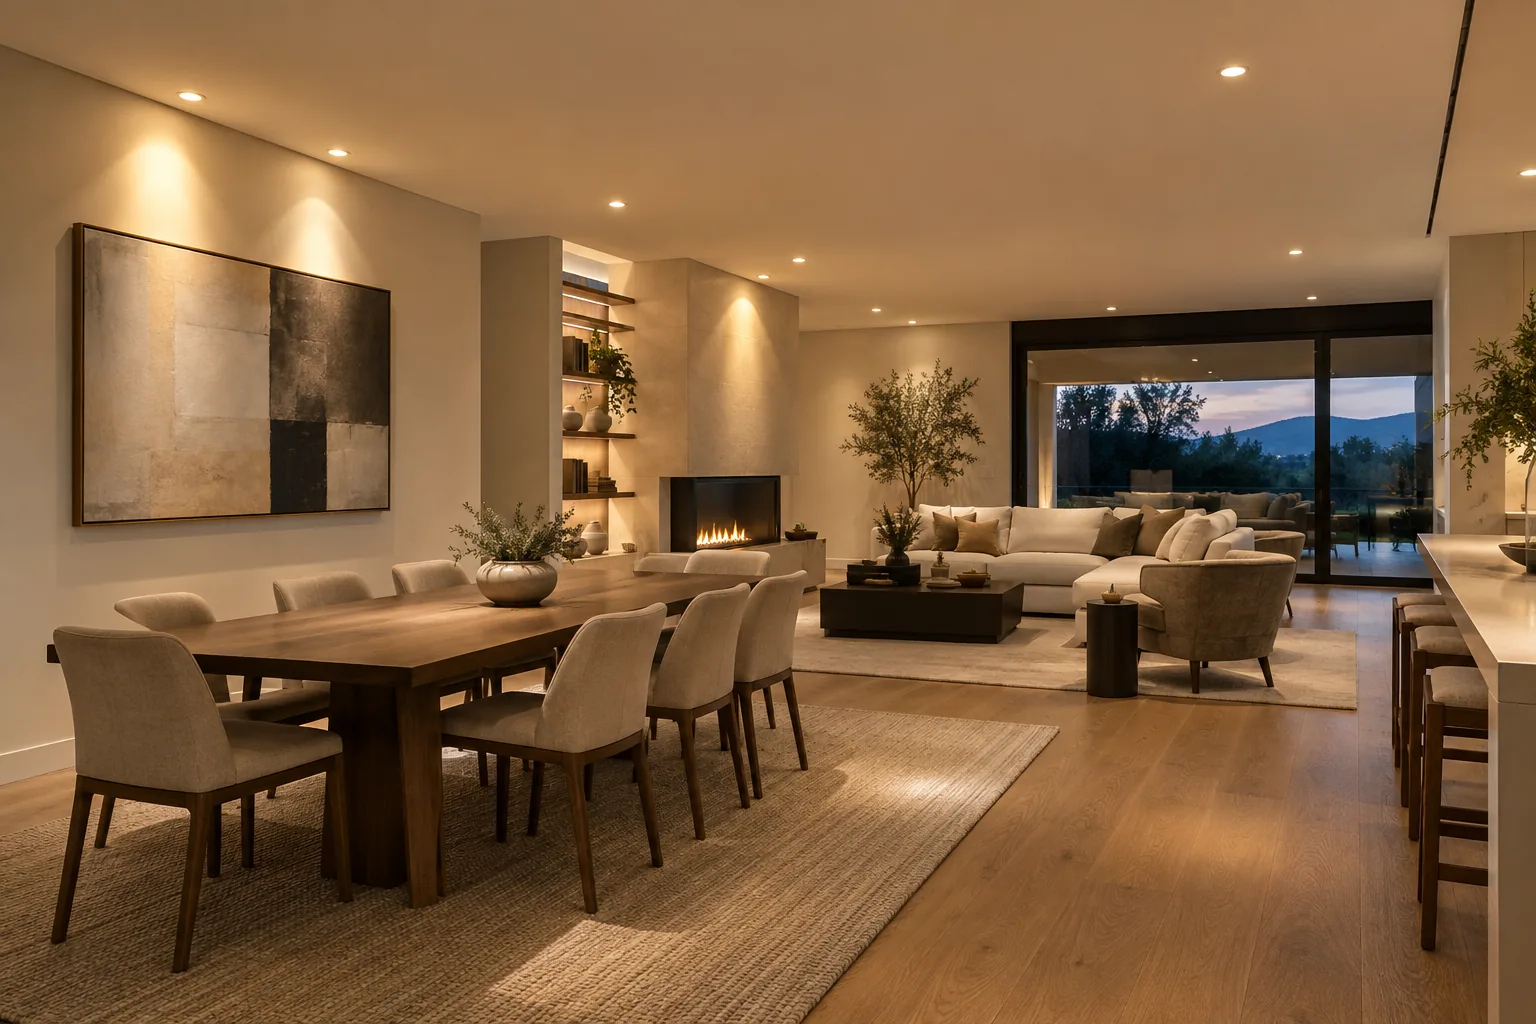
Tell Us What You Want to Light
Share the room or exterior area, approximate fixture count, ceiling height, existing lighting and desired timing. Photos help show the ceiling and access conditions.
What this service should solve
Determine fixture quantity and position from ceiling height, beam spread, furniture, work surfaces and room use—not one universal spacing rule.
There is no dependable rule that every pot light belongs a fixed number of feet from the next. Two fixtures with different output and beam spread can illuminate the same room very differently. Cabinets, tall furniture and people create shadows. A television or polished counter can reflect the source. Layout begins with the surfaces that need light, then tests how the beams overlap at those surfaces.
A good plan separates the visible lighting decision from the concealed electrical work. Fixture position, beam spread and colour affect the room; cable routes, boxes, drivers, controls and ceiling access determine how that plan can be completed safely. Both sides belong in the discussion before a final scope is accepted.
The first review should also identify what is outside the visible fixture work. Drywall finishing, painting, cabinet changes, specialty engineering or other trades should not be assumed unless the written scope includes them. Clear boundaries make quotes easier to compare and reduce surprises once work begins.
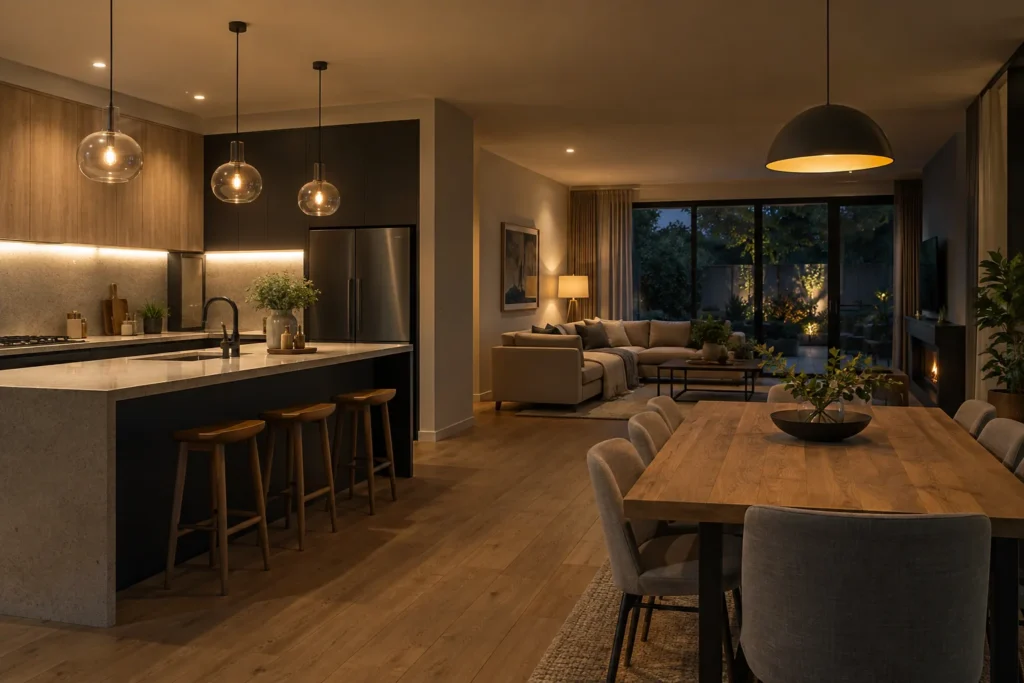
Start with the surfaces and activities that need light
The ceiling pattern follows the use of the space. These are the relationships that carry the most weight for pot light layout & spacing.
- Room — Room dimensions and actual usable floor area.
- Ceiling — Ceiling height and sloped sections.
- Beam — Beam spread at the working plane.
- Furniture — Furniture and circulation paths.
- Cabinet — Cabinet faces and counter edges.
- Artwork, — Artwork, fireplaces and televisions.
- Open-plan — Open-plan transitions.
- Fixture — Fixture output and dimming range.

A fixture count is not a lighting design
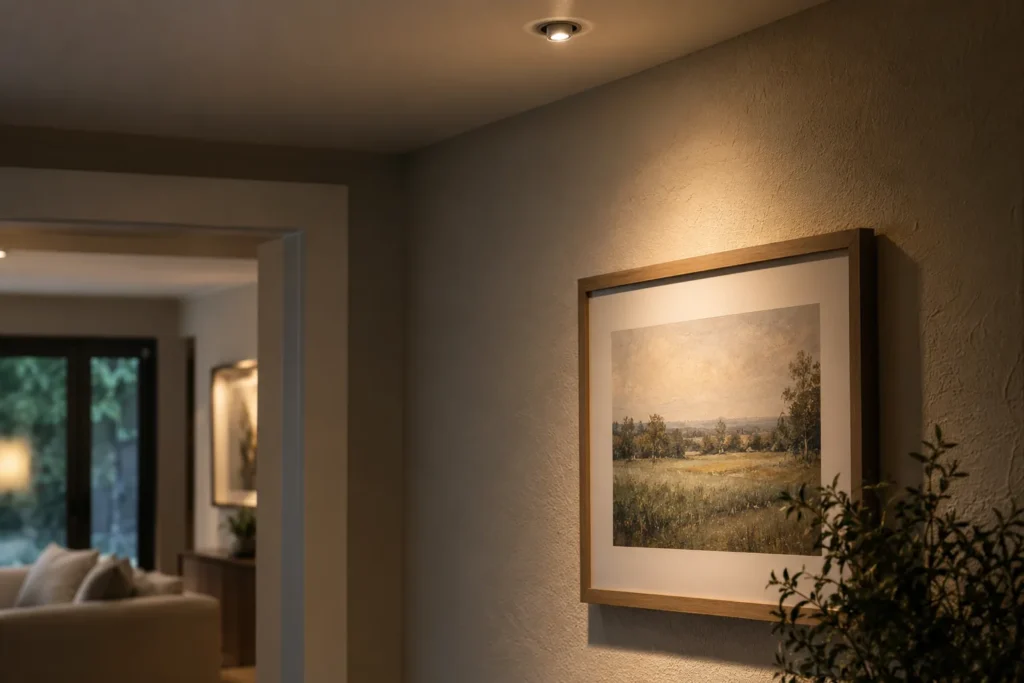
Quantity must be read together with ceiling height, fixture output and beam spread. A wide beam can overlap gently for ambient light, while an adjustable or tighter beam can give a wall or work surface more emphasis. Increasing quantity without checking those relationships can create a ceiling full of bright apertures without improving the places people actually use.
Furniture, cabinetry and circulation belong on the layout. The location of room dimensions and actual usable floor area may matter more than equal spacing from the room perimeter. Likewise, ceiling height and sloped sections can change which fixtures should share a control and which should operate independently.
Colour temperature and colour rendering should be chosen across the visible lighting layers. Pot lights, pendants, sconces and cabinet lighting that are individually acceptable can still look disconnected when their white tones or dimming behaviour do not agree.
Finished surfaces change how the work is planned
A paper layout is a starting point, not permission to ignore the ceiling. Joist direction, ducts, pipes, blocking, beams and existing cable routes can move a proposed location. Good plans identify which relationships are critical—such as a row serving a counter—and where a small field adjustment will not harm the result.
Joist direction is only one concealed condition. Ducts can fill a bay, plumbing may cross the preferred route, blocking can interrupt cable travel, and insulation can affect product selection and working access. Existing wiring also has to be identified rather than assumed suitable because a switch happens to be nearby.
Where investigation cannot confirm a complete route before work starts, the quote should state the assumption and explain how an unexpected obstruction will be handled. That is more useful than promising a no-damage result that cannot be verified from below.
Select for the location, beam and future service
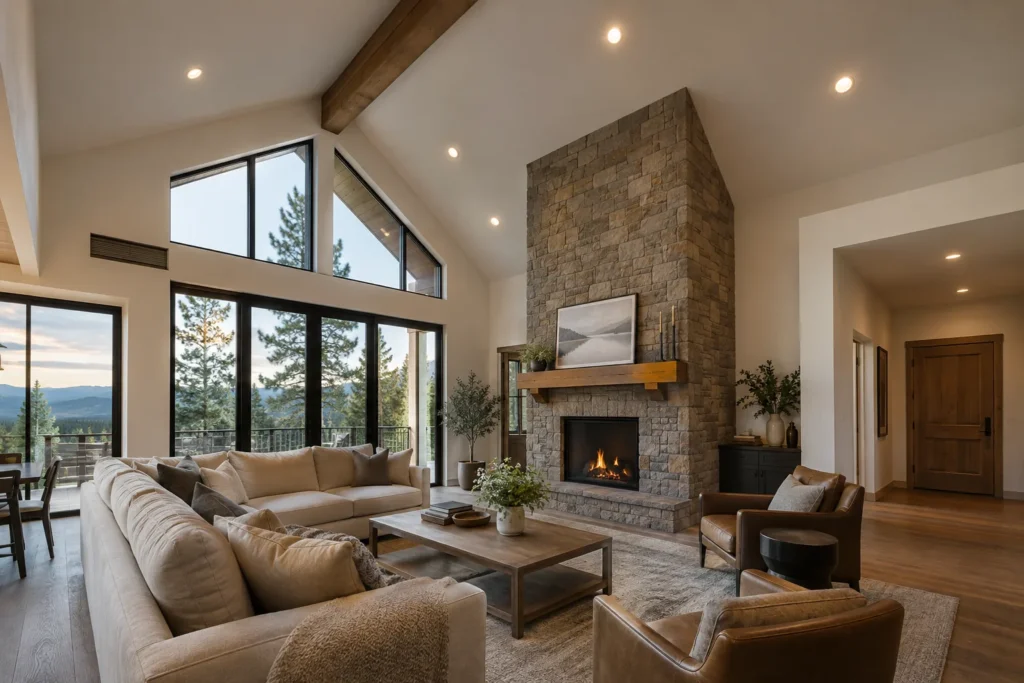
The visible trim is only part of the product. Driver access, opening size, location rating, dimming data and replacement options also affect whether a fixture is suitable.
- Photometric data from the selected fixture should be evaluated for output, visual comfort, fit and service access.
- Fixed versus adjustable optics should be evaluated for output, visual comfort, fit and service access.
- Wide flood versus tighter accent beams should be evaluated for output, visual comfort, fit and service access.
- Trim depth and visual comfort should be evaluated for output, visual comfort, fit and service access.
- Consistent output across connected rooms should be evaluated for output, visual comfort, fit and service access.
- Dimmer performance at normal and low levels should be evaluated for output, visual comfort, fit and service access.
An integrated fixture may offer a clean appearance, but a failed driver or module still needs a practical replacement path. Product documentation, compatible controls and access to serviceable components should be retained with the property records.
Make the finished lighting easy to use
More controls are not automatically better. The goal is to give different activities an appropriate level without creating a wall of confusing buttons. For this service, useful control choices include:
- Zones based on activities should remain understandable at the wall and compatible with the connected fixtures.
- Separate accent control should remain understandable at the wall and compatible with the connected fixtures.
- Dimming before reducing fixture usefulness should remain understandable at the wall and compatible with the connected fixtures.
- Multi-location switching tied to circulation should remain understandable at the wall and compatible with the connected fixtures.
Low-end dimming should be tested with the actual fixture and driver combination. A control that technically turns the lights on may still buzz, flicker, drop out or provide a poor usable range.
Use the right electrical contracting path
In Ontario, only Licensed Electrical Contractors may be hired to perform residential electrical work, subject to limited regulatory exemptions. A general renovation company cannot perform that electrical work unless it holds the required electrical contractor licence or uses a properly licensed electrical subcontractor.
Notifications apply according to the work being performed. ESA explains that it decides which notified installations it inspects and may accept some installations without a site inspection. After notified work is accepted, the party that filed receives a Certificate of Acceptance. Homeowners should ask for a copy when the contractor filed the notification.
Oakville Pot Lights does not display an ECRA/ESA licence claim unless a verified licence number has been entered in Theme Settings. The project scope should identify the Licensed Electrical Contractor responsible for electrical work and the applicable notification process before work starts.
Plan for the property in front of you
Room proportions vary between Oakville’s older bungalows, townhomes, renovated main floors and newer detached homes. A layout method that records ceiling height, cabinetry and furniture remains useful across those housing types because it is based on the space rather than a local rule of thumb.
Municipal, electrical and product information can change. Project-specific questions should be checked against current official guidance and the conditions at the property rather than treated as a permanent rule taken from a general webpage.
What changes the price and scope?
A useful quote names the assumptions that affect work instead of reducing the project to one unexplained unit price.
- Room measurement and planning time can change labour, material, access or coordination requirements.
- Fixture count after layout can change labour, material, access or coordination requirements.
- Ceiling obstruction changes can change labour, material, access or coordination requirements.
- Number of zones can change labour, material, access or coordination requirements.
- Selected optics and trims can change labour, material, access or coordination requirements.
- High ceiling access can change labour, material, access or coordination requirements.
- New switching can change labour, material, access or coordination requirements.
- Site verification can change labour, material, access or coordination requirements.
Ask whether the fixture, trim, driver, dimmer, notification, access equipment and removal of old products are included. Also confirm how unexpected ceiling obstructions and any drywall or finish repair will be addressed. The least expensive line item is not comparable when it omits work included elsewhere.
Keep the surrounding lighting in view
Related pages are separate because each has its own planning and search intent. Use them to develop the full scope; do not treat a hub page or short summary as a substitute for the service-specific details.
Information worth gathering
Measure the room and ceiling height. Photograph the full space, the ceiling, the switch locations and any accessible area above or beside it. Record fixture labels where they are safely visible, and note whether a problem changes with dimming, weather, another switch or time of day.
For new installations, identify furniture, cabinetry, artwork and work surfaces that will remain. For replacements, count each fixture type separately and photograph the trim, housing or driver label where it can be accessed without disturbing energized equipment.
Pot Light Layout & Spacing FAQs
How is a pot light layout & spacing scope planned?
The scope starts with the room or exterior area, the intended use, ceiling or wall conditions, existing wiring, selected products and controls. For pot light layout & spacing, the priorities listed on this page are checked against what can be verified on site before locations are finalized.
Can the final layout and cable route be confirmed from photos?
Photos are valuable for understanding proportions, finishes, fixture style and visible access. They cannot show every joist, duct, pipe, block, insulation condition or hidden connection. Final routes and any need for selective access depend on investigation at the property.
Will the lighting work with an existing dimmer or smart switch?
Compatibility depends on the complete LED load, driver design, control type and wiring at the switch box. The selected photometric data from the selected fixture should be checked against the proposed control instead of assuming every LED product will dim smoothly on every device.
When is an ESA notification involved?
Ontario requirements depend on the electrical work being performed. When hired electrical work requires a notification, the Licensed Electrical Contractor completing that work is responsible for the applicable filing and process. ESA determines which notified installations it inspects or otherwise reviews.
What information makes an estimate more useful?
Provide room dimensions, ceiling height, photos, the number and type of existing fixtures, preferred fixture styles, switching locations and timing. For this service, details about room measurement and planning time, fixture count after layout and ceiling obstruction changes are especially helpful.
Request an Oakville Lighting Estimate
Describe the room or exterior area, ceiling height, current lighting, preferred fixtures and timing. Add wide photographs through the configured WPForms form when available.
Plan the lighting around the space—not a generic grid.
Share the room or exterior area, ceiling height, current lighting, preferred fixtures and any photos that show access conditions. That information makes the first conversation more useful.