
Kitchen Recessed Lighting Layout in Oakville: Plan Counters, Islands and Controls
A kitchen lighting plan works best when recessed lights follow the counters, island, appliances and daily tasks instead of an arbitrary ceiling grid.
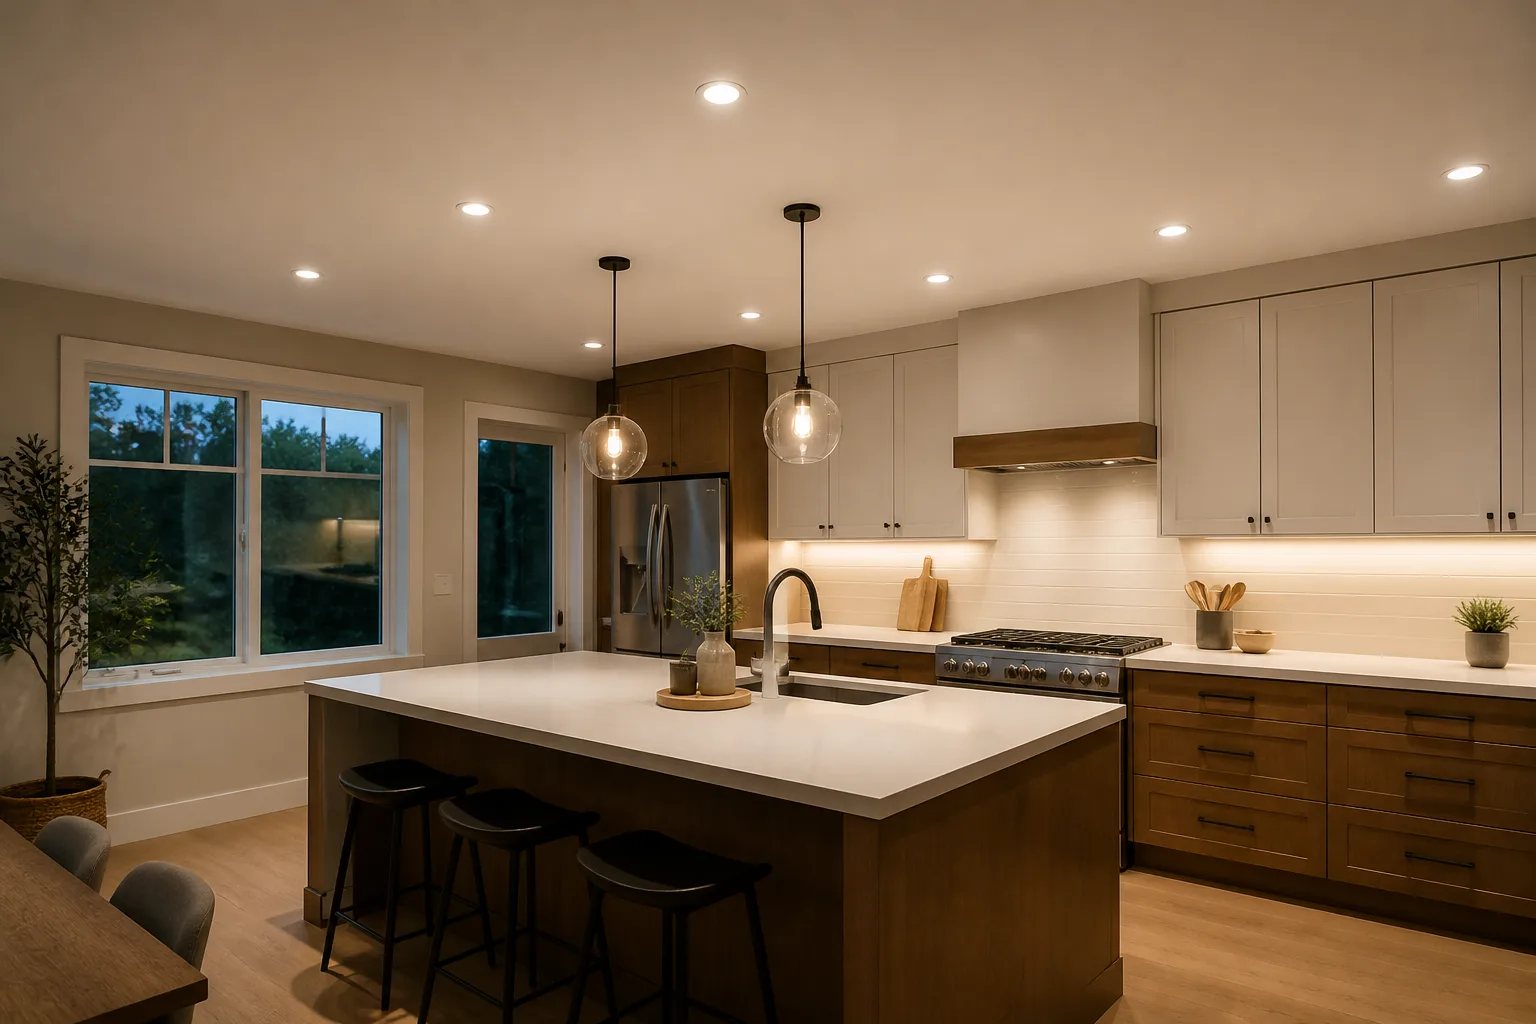
A strong kitchen recessed lighting layout in Oakville starts with the work surfaces, not a perfectly even ceiling grid. Recessed lights should help illuminate counters from in front of the person using them, leave visual space for island pendants, and work alongside under-cabinet task lighting. Fixture count is a result of those decisions, along with ceiling height, beam spread and output.
At Oakville Pot Lights, we plan kitchen pot lights around the room’s cabinetry, counters, appliances, circulation and ceiling conditions. The goal is not simply a brighter ceiling. It is lighting that remains useful for food preparation, cleanup, dining and quieter evening use.
Map the kitchen before choosing fixture positions
Start with the features that will remain in the room: cabinet runs, counter edges, sink, range, refrigerator, island, seating and doorways. These elements reveal where light needs to land and where a bright recessed opening could become distracting.
The most common layout problem is placing a recessed row too far toward the centre of the room. A person standing at the counter can then block their own light and cast a shadow across the work surface. Positioning the lighting in relation to the counter’s working edge is usually more useful than making every row equidistant from the walls.
The same principle applies to the sink and cooking areas. They deserve deliberate consideration rather than being treated as empty spaces between cabinet runs. In an open kitchen, also look through to the dining or living area so visible trim style and colour appearance feel coordinated without forcing every zone to operate at the same brightness.
Use layers instead of asking ceiling lights to do every job
Recessed lights can provide comfortable general illumination and can support task lighting when placed well, but a kitchen usually benefits from several lighting layers. Each layer solves a different problem.
| Lighting layer | Primary job | Planning consideration |
|---|---|---|
| Recessed lights | General room light and selected task coverage | Align them with counters, circulation and sightlines rather than a generic grid. |
| Under-cabinet lighting | Direct light across counter work surfaces | Plan continuous runs, cabinet breaks, driver access and cable routes before finishes close the wall. |
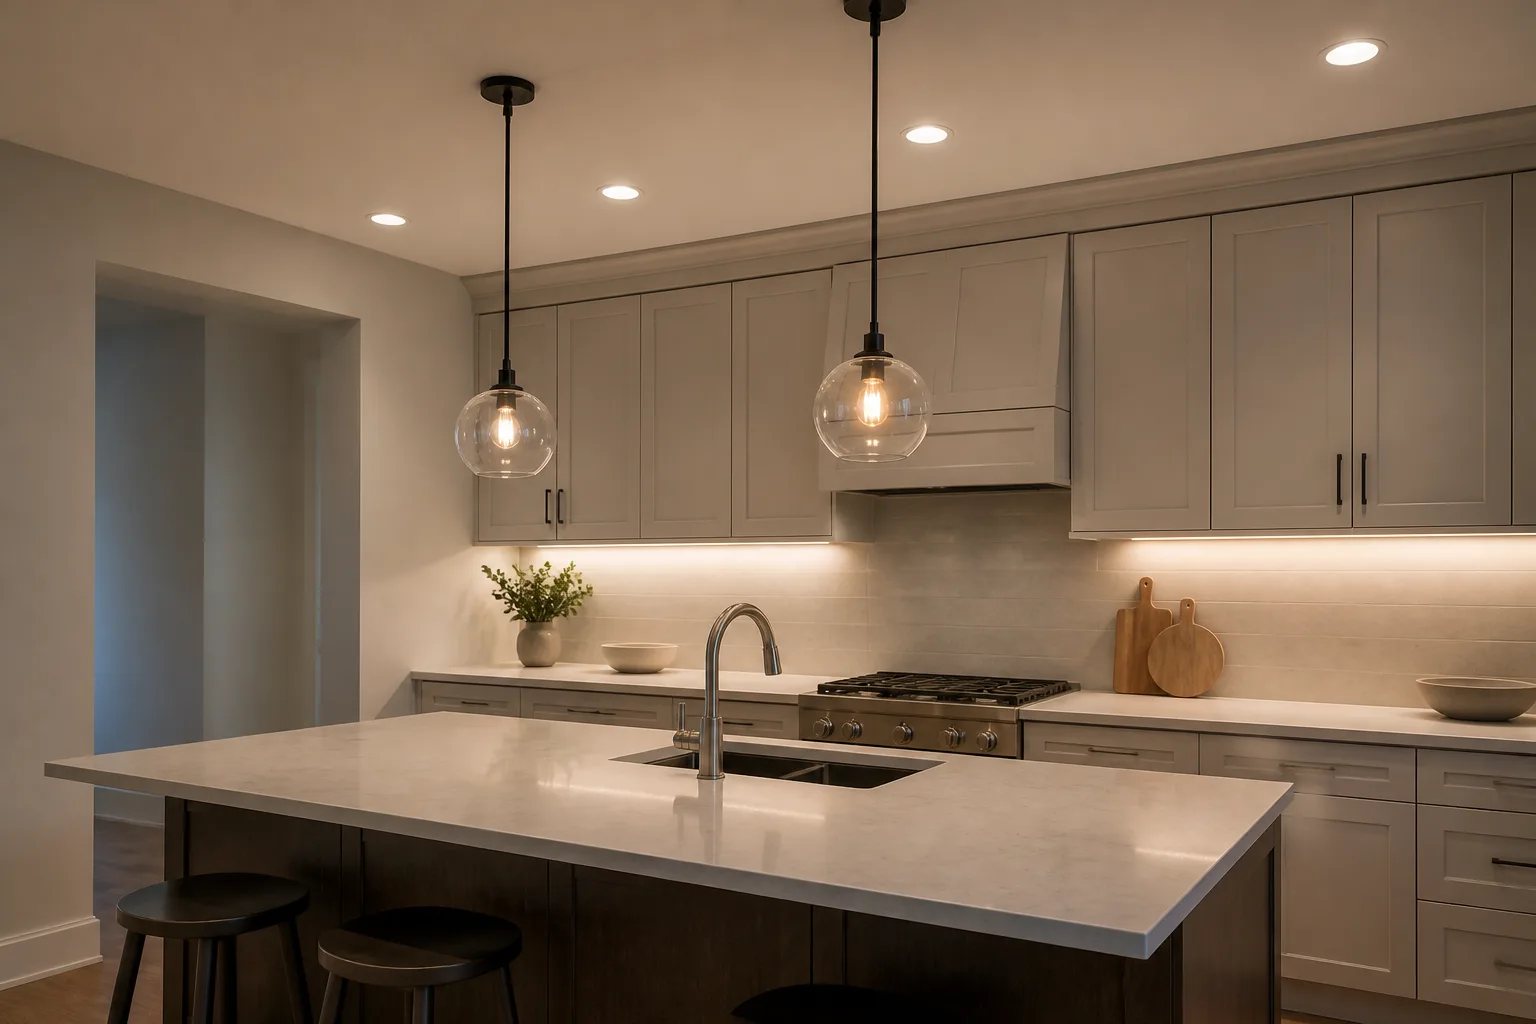
| Island pendants | Visible light, scale and character over an island | Coordinate canopy locations and hanging space with recessed fixtures so the ceiling does not look crowded. |
| Accent lighting | Emphasis for a display wall, millwork or selected feature | Use it selectively; a tighter or adjustable beam can serve a target better than adding more general light. |
We offer pendant and island lighting and under-cabinet lighting as separate parts of a kitchen lighting plan. Coordinating them early helps preserve clear ceiling relationships and practical task light.
Coordinate pot lights with an island and pendants
An island is often both a preparation surface and a visual focal point. Pendants can provide a decorative layer, while recessed lights cover surrounding work and circulation areas. Placing pot lights directly beside or above pendant canopies without checking the complete ceiling composition can create clutter and competing pools of light.
Before finalizing locations, establish the island’s length, width, final position and pendant specifications if they are already selected. Canopy size, hanging height and sightlines all matter. A layout also needs room for practical ceiling conditions and slight field adjustment if a concealed obstruction is found.
Reflective finishes deserve attention as well. Polished stone, dark glass and glossy cabinetry can reflect bright apertures. Beam distribution, fixture position and dimming can improve visual comfort more effectively than simply increasing the number of lights.
Choose colour, output and trim with the whole room in mind
Two kitchens with the same dimensions can need different lighting because their ceiling heights, finishes, adjacent rooms and desired atmosphere differ. A wide beam can overlap gently for ambient light, while a narrower or adjustable option can place emphasis on a wall or feature. More fixtures do not automatically provide better counter illumination.
Colour temperature should be considered across all visible sources, including recessed lights, pendants and cabinet lighting. Fixtures that look acceptable individually can appear mismatched when their white tones differ. Colour rendering is also worth considering where food and finish selection matter.
The trim is only the visible portion of the fixture decision. Opening size, output, beam spread, dimming information, driver access and replacement options affect both present performance and future service. For a closer look at these distinctions, review our guide to pot light fixture types and our pot light colour temperature guide.
Give each activity a simple, separate control
A kitchen is used at different levels throughout the day. Bright light can be useful for preparation and cleanup, while a lower level may be more comfortable for an evening meal or when nearby living areas are in use. Separating recessed lights, pendants and under-cabinet lighting into understandable zones gives the room flexibility without creating a confusing wall of controls.
Dimming needs to be considered as a complete system. An LED control that turns lights on can still produce flicker, buzzing, drop-out or an unhelpful low-end dimming range if it is not compatible with the selected fixtures and drivers. Where the kitchen has more than one entry, multi-location control can also make everyday operation easier.
Our dimmers and smart lighting controls page explains why compatibility and clear wall control should come before a long list of connected features.
Ontario electrical work
Confirm electrical responsibility before work begins
For hired residential electrical work in Ontario, confirm the Licensed Electrical Contractor responsible for the scope. Ask whether the work requires an ESA notification, who handles the filing, and whether that responsibility is included in the written proposal.
Why finished ceilings require a practical plan
A kitchen layout must work with what is concealed above the ceiling. Joists are only one variable: ducts, plumbing, blocking, insulation, existing wiring, range-hood routes and second-floor services can affect a proposed location or cable path. A slim fixture can reduce the depth needed at its opening, but it does not prove that every cavity or route is clear.
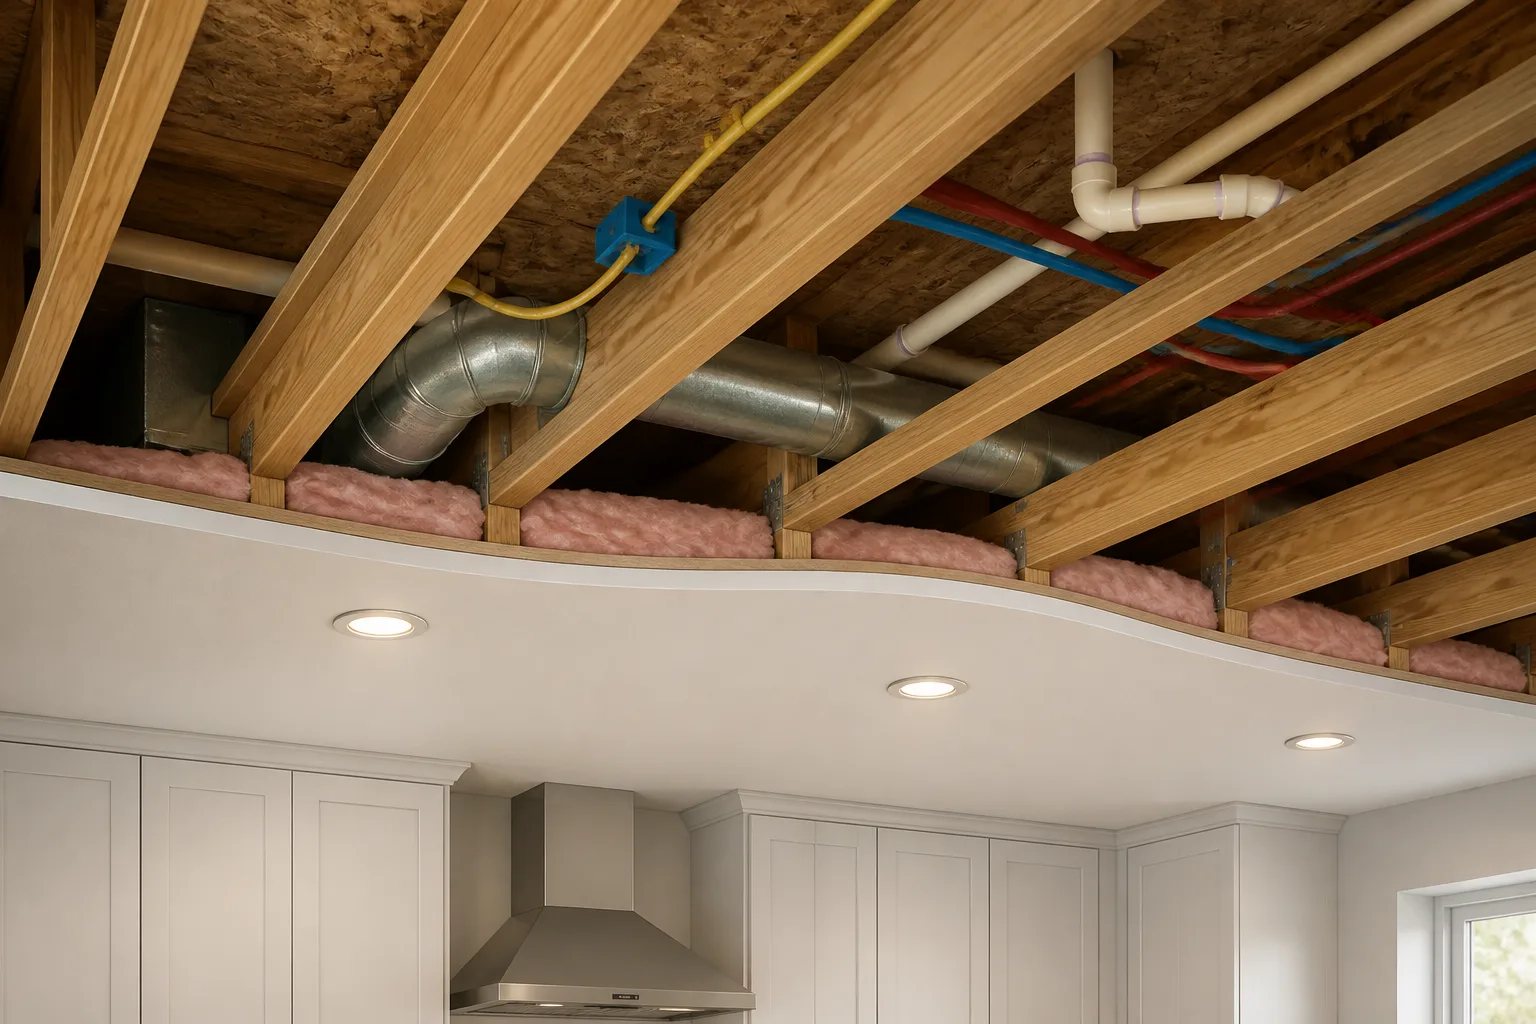
Photos and room measurements help us understand visible conditions, but they cannot confirm every concealed condition. When a route cannot be fully verified before work begins, the written scope should identify the assumption, explain how an obstruction will be handled, and clearly state any access, drywall, paint, cabinet or other trade responsibilities. This makes proposals more comparable than an unexplained per-fixture figure.
For homes in Ontario, confirm the Licensed Electrical Contractor responsible for hired residential electrical work and ask how the applicable ESA notification process will be addressed. Our Ontario electrical notifications guide outlines the questions to raise before accepting a scope.
Prepare the details that make the first discussion useful
A useful initial conversation connects your lighting goals to the actual kitchen rather than guessing from fixture quantity alone.
Before requesting an estimate
Gather the details that shape a kitchen lighting layout
A few measurements and wide photographs help connect fixture positions to real work areas and ceiling conditions.
- Measure the kitchen and record the ceiling height.
- Photograph the complete room, ceiling, switches, cabinetry and existing fixtures.
- Mark the counter runs, sink, range, refrigerator, island and seating that will remain.
- Share pendant specifications or preferred locations when they have been selected.
- Note whether you want new locations, replacements, under-cabinet lighting, dimming or separate control zones.
- Identify any safely accessible area above or beside the kitchen and visible bulkheads, vents or plumbing walls.
With the cabinet plan, counter work areas, island fixtures and controls considered together, recessed lighting can support the kitchen instead of becoming a row of bright circles overhead. Our dedicated kitchen pot light planning service is built around those room-specific decisions.
Helpful answers
Frequently Asked Questions
Discuss Your Kitchen Lighting Layout
Share your kitchen dimensions, ceiling height, existing lighting and wide photos so we can begin with the visible conditions and goals that shape the scope.