
How to Plan Interior Pot Lights That Work Room to Room in Oakville
A whole-home pot light plan should follow how each room is used, not repeat the same ceiling grid everywhere. Learn what to map before choosing fixtures, spacing and controls.
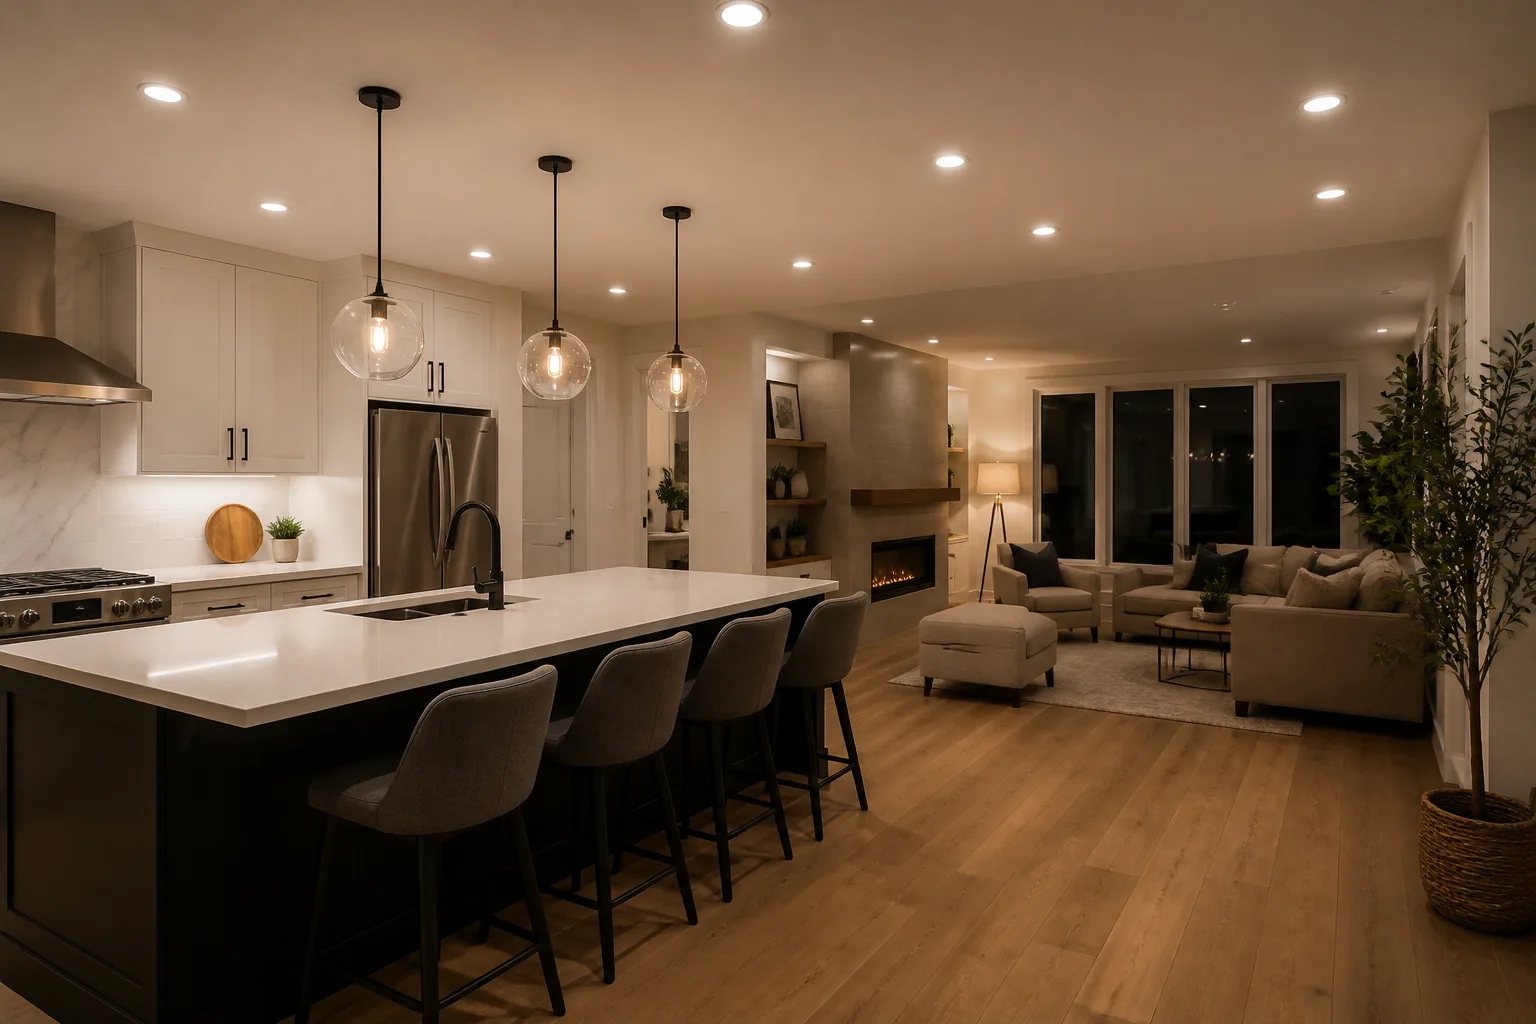
Interior pot light planning in Oakville works best when each room gets the light it needs while the home still feels visually connected. That does not mean using identical fixture spacing or brightness everywhere. A kitchen needs light directed to work surfaces, a living room needs glare-aware zones, and a bedroom benefits from calmer, lower-level illumination. The shared elements are usually compatible trim style, colour appearance and straightforward controls.
At Oakville Pot Lights, we plan interior lighting around the room, ceiling conditions and activities below the ceiling. Before final fixture locations are set, it helps to separate two decisions: the lighting result you want to see, and the concealed electrical route needed to create it.
Start with the room, not a ceiling grid
A symmetrical grid can look orderly on paper but still leave the useful parts of a room in shadow or put bright apertures where they cause distraction. Fixture quantity alone does not establish a good layout. Ceiling height, fixture output, beam spread, furniture, cabinetry and the desired brightness all change the result.
Begin by identifying the surfaces and sightlines that matter:
- Kitchens: counters, sink, appliances, island and cabinet runs.
- Living areas: seating, television viewing, fireplaces, artwork and routes through the room.
- Bedrooms: bed placement, wardrobes, reading areas, lamps and ceiling fans.
- Basements: bulkheads, lower ceilings, media areas, office zones and stair landings.
- Hallways: turns, changes in level and entry points.
For example, a recessed light placed directly behind someone standing at a kitchen counter can cast a shadow on the work surface. In a bedroom, a bright downlight directly over pillows can be uncomfortable from a reclined position. These are layout issues, not simply fixture-count issues.
For a deeper look at planning positions around actual ceiling and room conditions, see our guide to pot light layout and spacing.
Use lighting layers instead of asking pot lights to do every job
Pot lights can provide general illumination and, when positioned carefully, useful task or accent light. They are not automatically the only lighting layer a room needs. A more comfortable interior plan often combines recessed lighting with decorative and task fixtures that solve distinct problems.
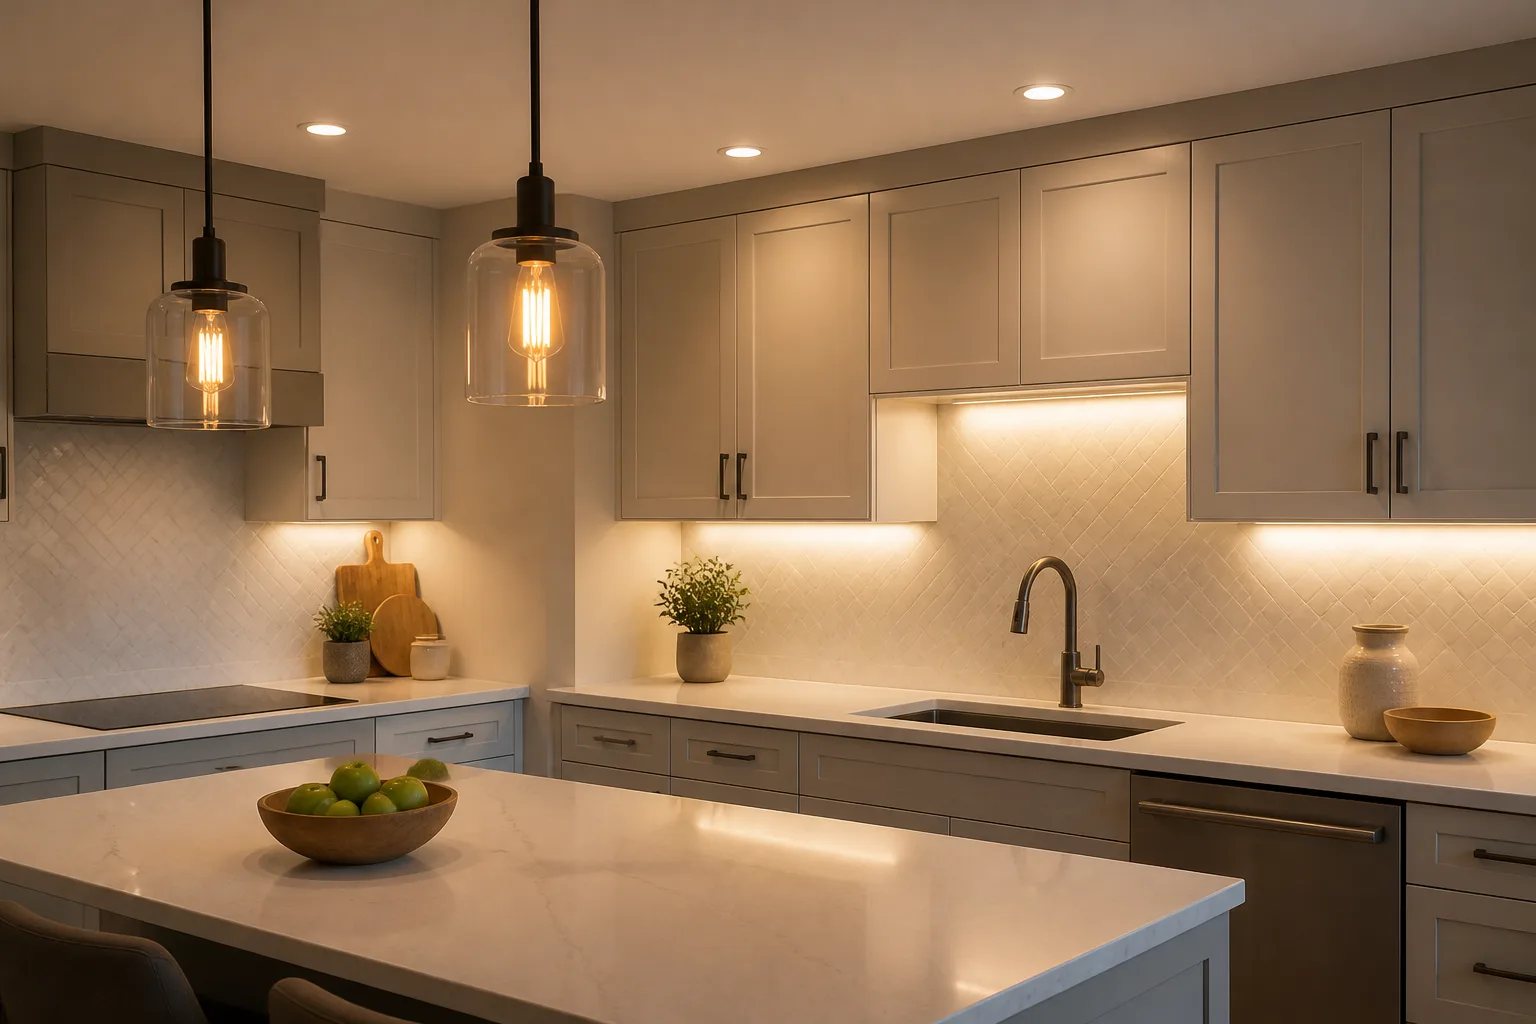
| Lighting layer | What it does | Common room application |
|---|---|---|
| Ambient light | Provides overall visibility and supports movement through the room. | Recessed lights in open living areas, halls and general basement zones. |
| Task light | Places usable light where detailed activity happens. | Under-cabinet lighting at counters, vanity lighting at mirrors, or a reading light beside seating. |
| Accent light | Draws attention to a feature without making the entire room brighter. | Artwork, millwork, a fireplace wall or a textured surface. |
| Decorative light | Adds visible fixture scale and character while contributing light. | Pendants over an island or a fixture above a dining table. |
In a kitchen, for instance, recessed lights should be coordinated with pendants and under-cabinet lighting rather than placed directly where pendant canopies will compete for the same ceiling space. Our kitchen pot light planning page explains how counters, islands and connected rooms affect that arrangement.
Make connected rooms feel cohesive without matching them exactly
Open main floors and sightlines through doorways make mismatched lighting more noticeable. The goal is usually a consistent visual language, not identical output in every space. Related colour temperature, trim appearance and dimming behaviour can help rooms feel connected even when their fixture locations and brightness levels differ.
A kitchen and family room may share the same visible colour appearance while operating on separate zones. The kitchen can remain bright enough for preparation while the seating area is dimmed for television viewing. A front hall can use calm orientation light without requiring the whole main floor to run at full brightness.
Colour temperature should be chosen with adjacent rooms and existing fixtures in view. A lamp, pendant, sconce and pot light can each appear acceptable independently, yet look disconnected together if their white tones differ noticeably. Colour rendering also matters where food, textiles, finishes or artwork need to look natural.
Choose fixtures for visual comfort and future service
The trim visible from below is only part of an interior pot light decision. Opening size, fixture output, beam distribution, location rating, dimming information, driver access and replacement options all affect suitability.
Different fixture types can support different goals. Fixed slim LED fixtures can provide clean general lighting where conditions allow. Gimbal modules can direct light toward art or a sloped surface. Deeper-aperture trims can reduce the impression of a bright opening when visual comfort is a priority. The right choice depends on the intended surface, ceiling geometry and selected controls, not the product name alone.
Integrated LED fixtures can create a clean ceiling appearance, but a future driver or module failure still needs a practical service path. Retaining fixture and control documentation with property records makes future replacement or troubleshooting less dependent on guesswork. If you are replacing existing recessed lights, our LED pot light replacement and upgrade information covers the importance of identifying the existing housing, trim, module and dimmer before selecting a replacement.
Ontario electrical work
Confirm who is responsible before electrical work begins
For hired residential electrical work in Ontario, verify the exact Licensed Electrical Contractor responsible for the scope. Ask whether the described work requires an ESA notification, who will file it and whether that is included in the written proposal.
Ontario electrical work
Confirm who is responsible before electrical work begins
For hired residential electrical work in Ontario, verify the exact Licensed Electrical Contractor responsible for the scope. Ask whether the described work requires an ESA notification, who will file it and whether that is included in the written proposal.
Plan controls around activities, not rows of fixtures
More switches do not necessarily make a lighting plan more useful. A good control layout gives you a practical level for different activities without creating a confusing wall of buttons.
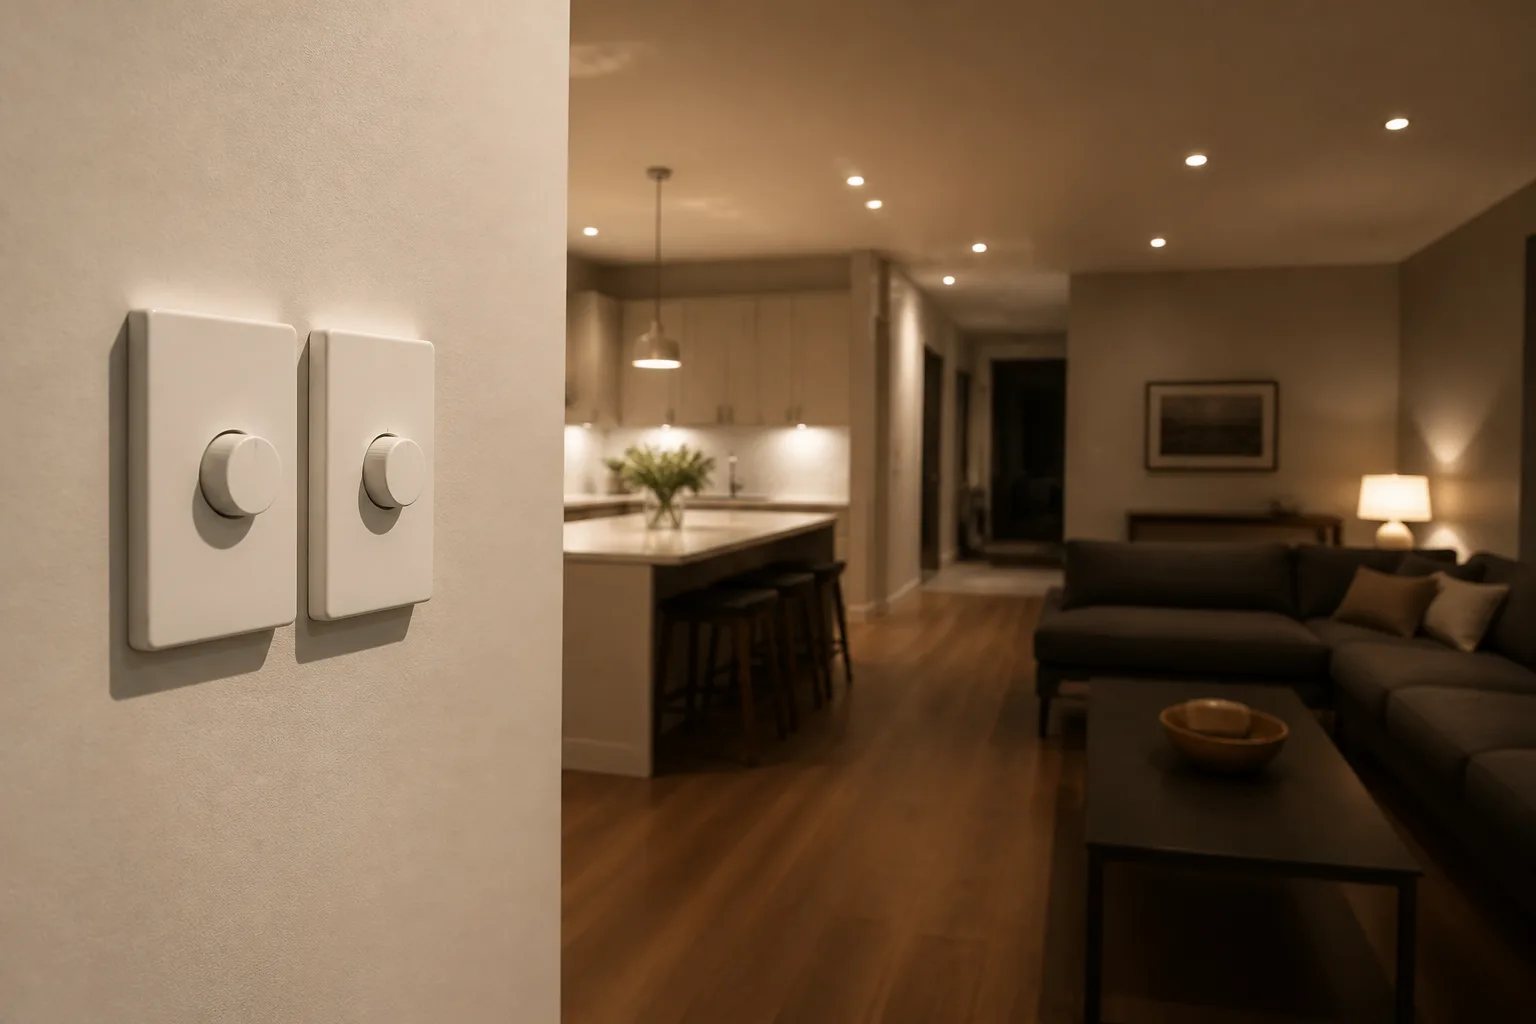
Useful zoning often separates areas with different purposes: kitchen general light from pendants, seating from accent lighting, or basement recreation from media viewing. Dimmers add flexibility, but the fixture, driver and dimmer need to be evaluated as a system. An LED setup that turns on successfully can still flicker, buzz, drop out at low levels or have a poor dimming range.
Multi-location switching can make sense at rooms with more than one entrance, hallways and stairs. Scene-capable smart switches can be useful where they remain understandable at the wall. Our dimmers and smart lighting controls page explores the compatibility and usability considerations in more detail.
What finished ceilings can change
A finished ceiling limits what can be confirmed from below. Joist direction is only one factor. Ducts, plumbing, blocking, insulation and existing wiring can interrupt a preferred route or affect where a fixture can be located. Slim fixtures can reduce the depth needed at an opening, but they do not guarantee that every ceiling cavity or cable route is clear.
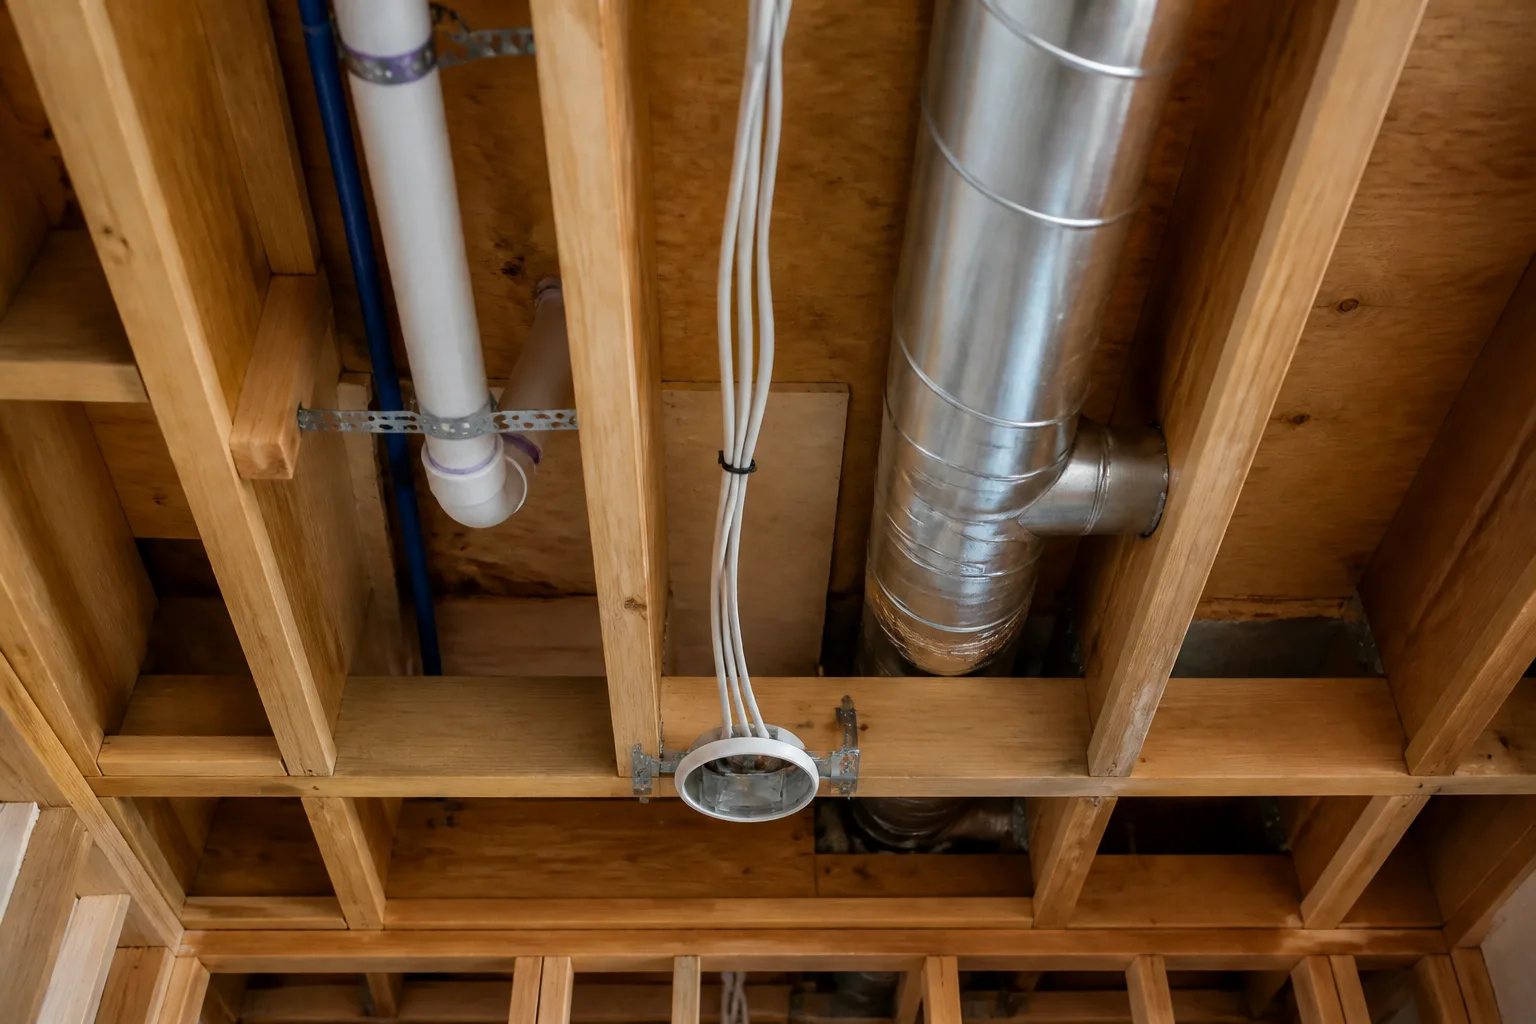
That is why a sound scope leaves room for field adjustment when concealed conditions are found. A planned fixture may need to move slightly to avoid an obstruction while preserving its relationship to a counter, furniture grouping or wall feature. Where a route cannot be fully verified in advance, the written scope should explain the assumption, how unexpected conditions will be assessed and how any access or finishing work is addressed.
Drywall finishing, painting, cabinetry changes and work by other trades should not be presumed included unless the written scope says so. Clear boundaries make proposals easier to compare than an unexplained per-fixture figure.
Prepare useful details before discussing interior pot lights
Photos and measurements help us understand the visible room, but they cannot reveal every concealed joist, duct, pipe or connection. The most useful first review includes a broad view of the space and enough context to connect fixture positions to the way the room will be used.
Before the first lighting discussion
Gather the details that shape a useful layout
A short set of measurements and photos helps connect the desired lighting result to the room and its access conditions.
- Measure the room and record ceiling height.
- Photograph the full room, ceiling, switch locations and any safely accessible area above or beside it.
- Mark furniture, cabinetry, artwork and work surfaces that will remain.
- List existing fixture types and photograph labels only where they are safely visible.
- Note preferred fixture styles, control locations and any dimming, glare or flicker concerns.
- Identify whether the ceiling is open, finished, vaulted, interrupted by bulkheads or below another finished floor.
Confirm the electrical contracting and notification path
In Ontario, the Electrical Safety Authority states that only Licensed Electrical Contractors may be hired for residential electrical work, subject to limited exemptions. For a proposed pot light project, confirm the exact Licensed Electrical Contractor responsible for the electrical scope and verify that business through ESA’s official contractor search.
Whether a particular project requires an ESA notification depends on the electrical work being performed. New fixture locations often involve wiring or device changes, while a direct replacement can be treated differently in limited circumstances. The responsible contractor should identify the applicable process in the scope. When notified work is accepted, the party that filed receives a Certificate of Acceptance; homeowners should request a copy when the contractor filed it and retain it with the project records.
Our Ontario electrical notifications guide outlines the questions to ask before accepting an electrical quote.
A better whole-home result begins with room-specific decisions
Interior pot lights should make a home easier to use, not turn every ceiling into the same pattern of bright circles. Map the tasks and sightlines first, coordinate lighting layers, keep colour appearance consistent across connected rooms and give each area controls that match its purpose. With ceiling conditions and service access considered before openings are cut, the finished plan can remain both intentional and practical.
Helpful answers
Frequently Asked Questions
Discuss Your Interior Lighting Plan
Share your room dimensions, ceiling height, current lighting and photos to help us start with the details that shape a useful layout.