
What to Know Before Pot Light Installation in Oakville
A practical guide to planning pot lights around the room, not a generic ceiling grid. Understand layout, access, controls, product details and quote assumptions before openings are cut.
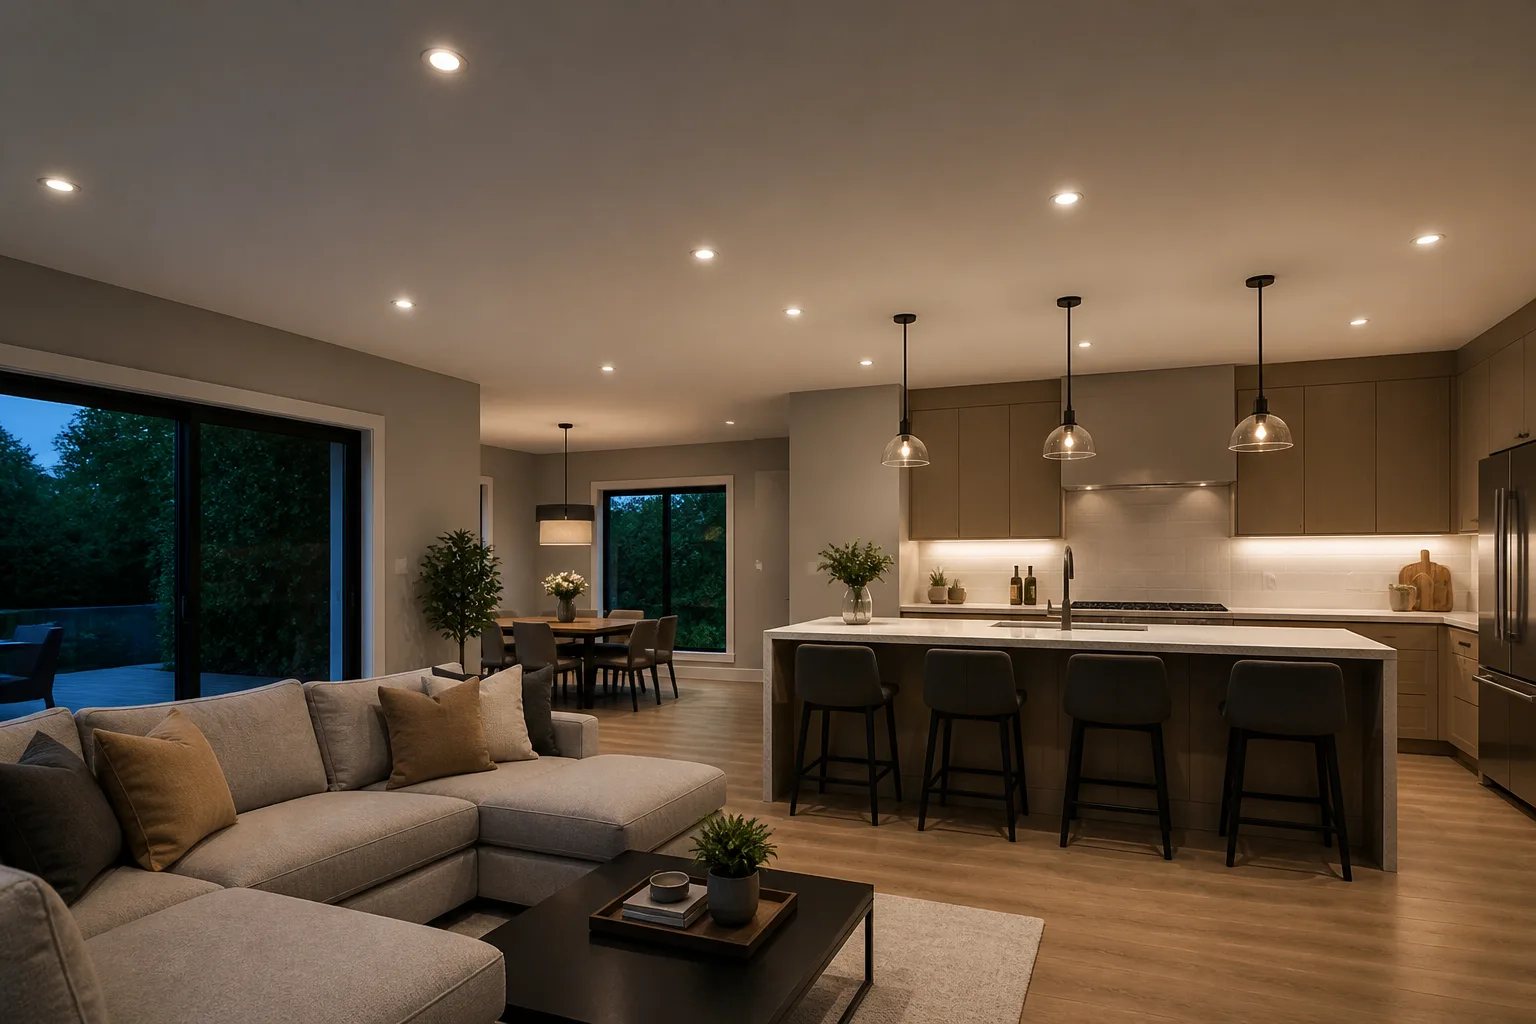
Pot light installation in Oakville starts with the room’s use, the ceiling conditions and the electrical route, not a universal spacing formula. A strong plan identifies where light needs to land, how the space will be controlled and what concealed conditions could affect the work. At Oakville Pot Lights, we plan and install recessed lighting for rooms, renovations and finished ceilings with those practical decisions in view.
The most useful first step is to look below the ceiling. Counters, seating, television screens, cabinets, stairs and circulation paths all affect where recessed fixtures belong. Fixture quantity matters, but it is the result of a layout process rather than the starting point.
Start with what the room needs to light
Pot lights can provide broad ambient light, focused task light or selective accent light. The appropriate mix depends on what happens in the room.
- Kitchens: Counter edges, sinks, appliances and islands need deliberate placement. A row positioned behind someone at the counter can leave the work surface in shadow.
- Living rooms: Seating positions, fireplaces and television screens matter. A bright fixture reflected in a television or seen directly from a reclined seat can be distracting.
- Hallways and stairs: Even visual rhythm, turns, landings and changes in level are more useful layout references than a simple square grid.
- Basements: Lower ceilings, bulkheads and mixed recreation or work zones can limit placement and benefit from separate control areas.
- Bedrooms: Fewer, well-positioned fixtures and lower dimming levels can be more comfortable than a densely lit ceiling.
For rooms with cabinetry, furniture or a known renovation plan, those fixed features should be identified before fixture positions are finalized. Our pot light layout and spacing service focuses on the relationships between the room, its surfaces and its lighting rather than applying one repeated pattern.
Why ceiling height, beam spread and glare change the layout
A fixture’s position alone does not determine the result. Ceiling height, light output and beam spread affect how much light reaches the floor, counter or wall. A wider beam can overlap gently with nearby fixtures for ambient light, while a tighter or adjustable beam can place more emphasis on a wall, artwork or work surface.
Adding fixtures without checking those relationships can create a ceiling full of bright apertures while still leaving key areas poorly lit. It can also increase glare on glossy stone, glass, framed art or television screens. In connected rooms, colour temperature and dimming behaviour should also be considered across pot lights, pendants, sconces and under-cabinet lighting so the layers do not look disconnected.
Finished ceilings require realistic access assumptions
New pot lights in a finished ceiling require more investigation than a plan made from room dimensions alone can provide. Joists, blocking, ducts, plumbing, insulation and existing wiring may affect where cable can travel. A photograph helps show the room, ceiling and visible access points, but it cannot confirm every concealed route.
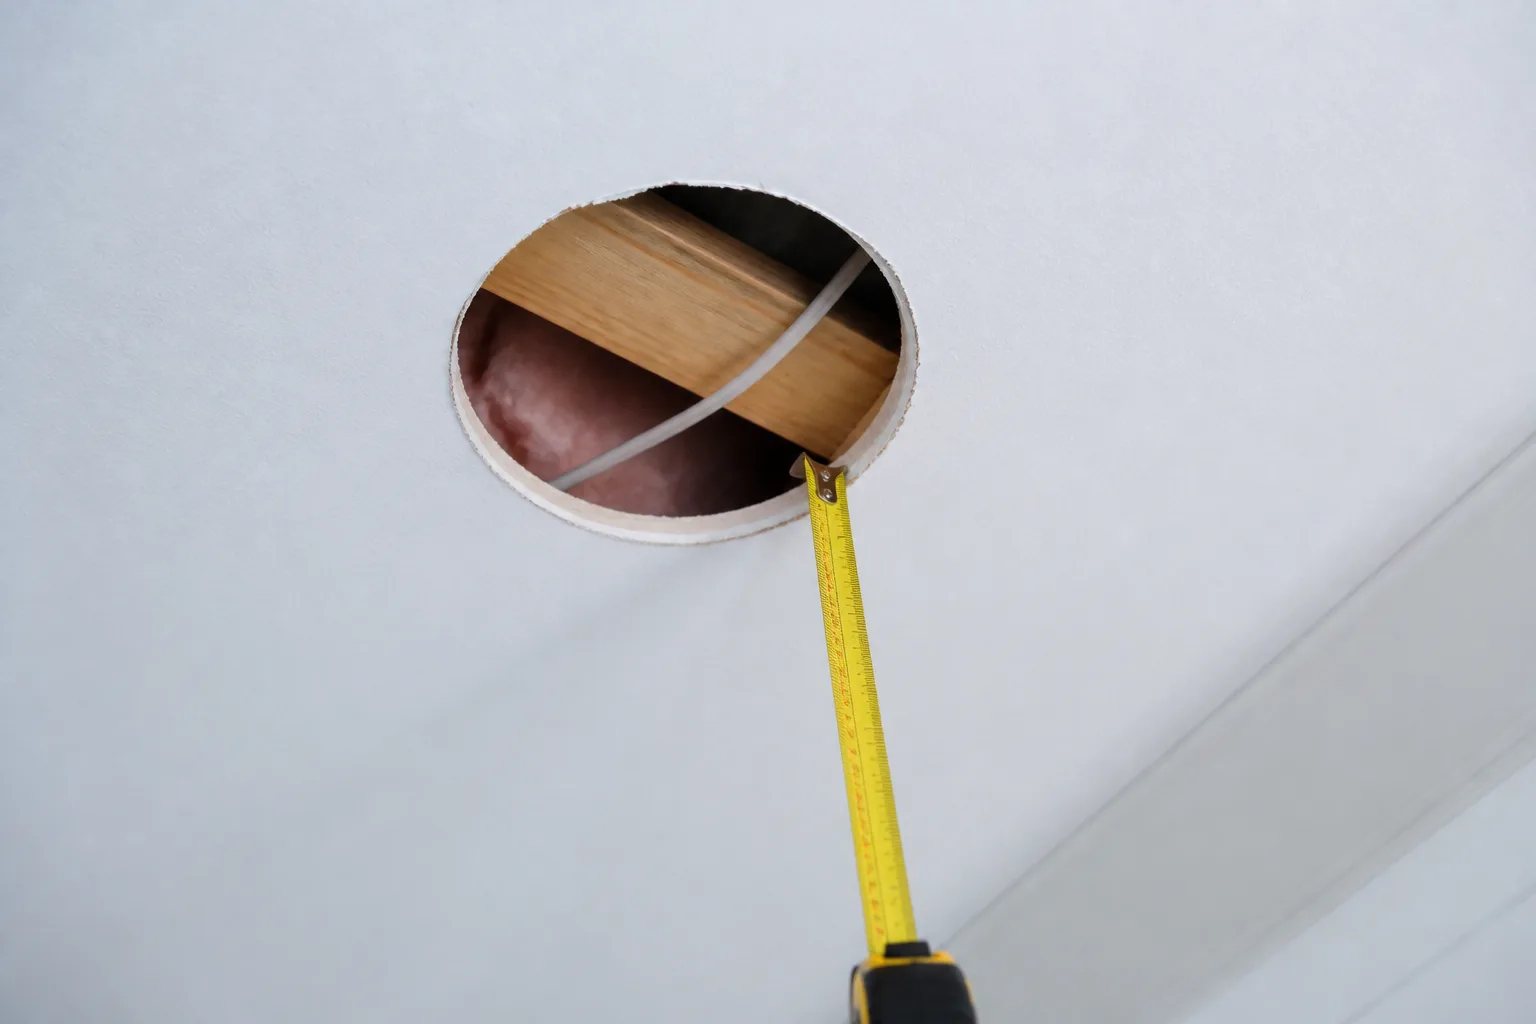
Slim or canless LED fixtures can reduce the depth needed at the opening, but they do not eliminate the need for suitable driver locations, cable routes or service access. In some projects, routing can be completed through fixture openings and existing boxes. In others, a framing bay or junction point may require selective access.
A clear scope should state the assumptions about access and explain how an unexpected obstruction will be assessed before additional work proceeds. It should also distinguish electrical work from drywall repair, sanding, texture matching, priming and painting. These are separate tasks and should not be assumed to be included unless the written scope says so. For a closer look at these conditions, see our guide to pot lights in finished ceilings.
Choose fixtures for more than their visible trim
Two recessed fixtures can look similar after installation but differ in output, beam distribution, colour rendering, opening size, location rating, dimming data and replacement options. The trim is only the visible portion of a system that also includes the driver, wiring and control compatibility.
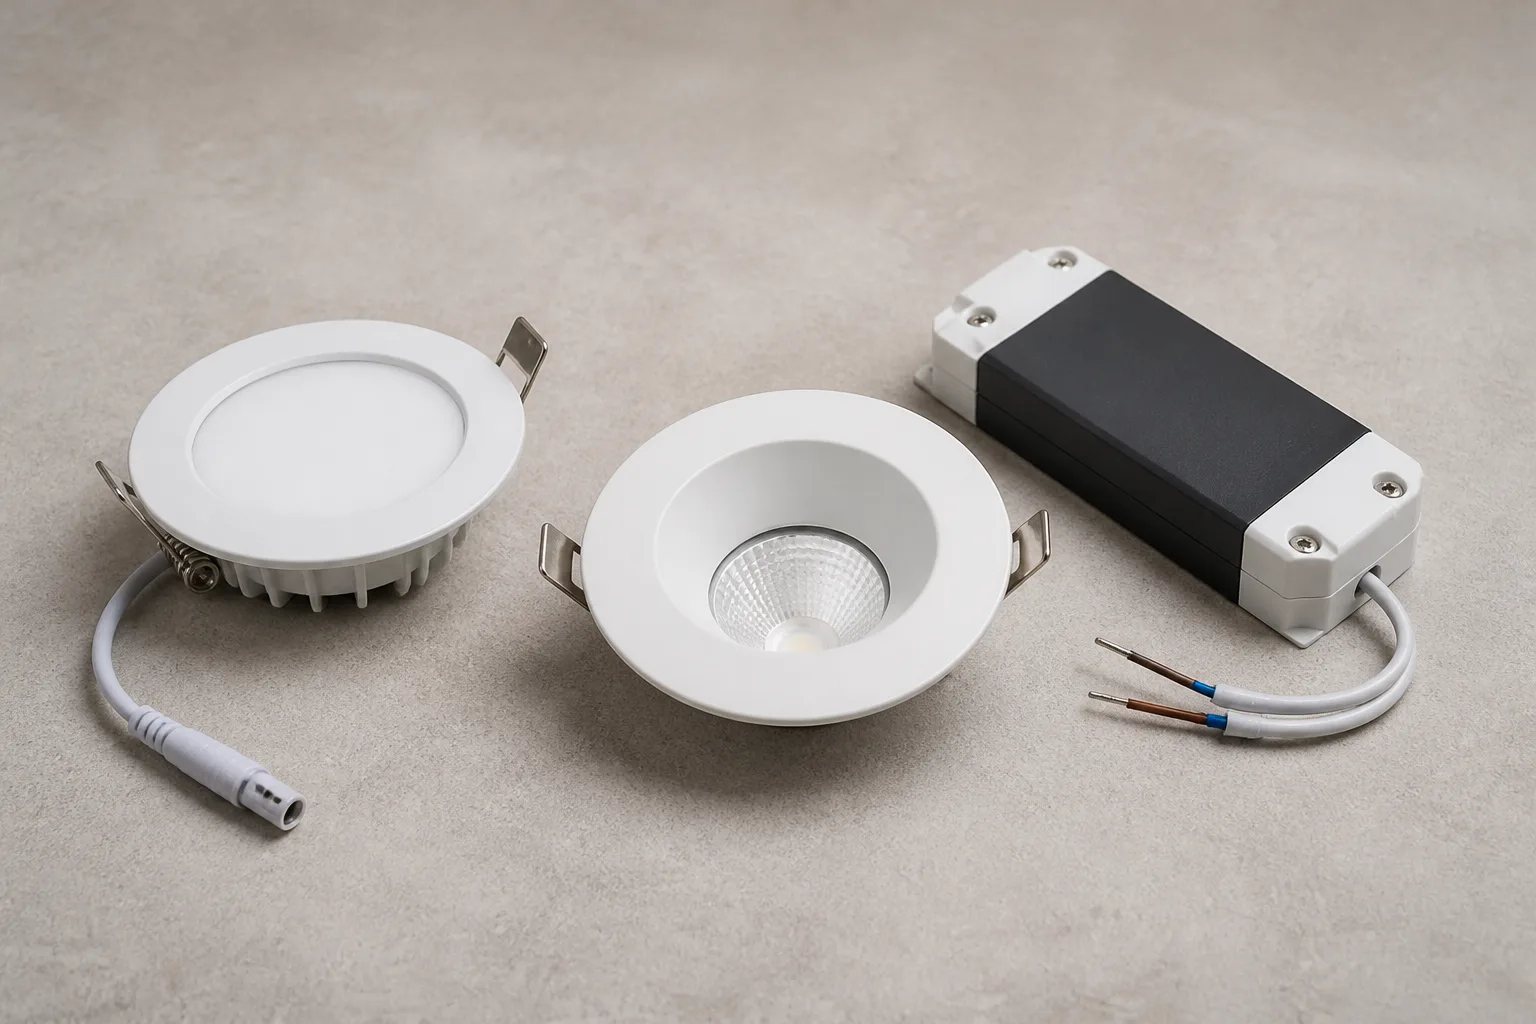
When comparing options, ask how the fixture fits the intended location and how it can be serviced later. Integrated LED products can create a clean appearance, but a failed module or driver still needs a practical replacement path. Keep product specifications, installed colour settings and compatible dimmer information with your property records.
For locations exposed to moisture or weather, the selected product needs a rating appropriate to that location. For a kitchen, colour rendering may matter when viewing food and finishes. For an accent wall, a gimbal or directional fixture may be more useful than a fixed general-lighting trim. These are product-selection questions, not details that can be answered by opening size alone.
Plan controls around activities, not fixture rows
Good lighting should be easy to operate. More switches and smart features do not automatically create a better result. A practical arrangement might separate general illumination from a task or perimeter layer, then use dimming to change the room’s feel without making the wall controls confusing.
LED dimming compatibility deserves attention. A dimmer that turns lights on and off may still produce buzzing, flicker, drop-out or an unhelpful low-end range when paired with a particular LED driver. The selected fixture, driver and dimmer should be treated as one system. We also offer dimmers and smart lighting controls as a separate lighting-planning consideration when you want more flexible room zones or scheduling.
Planning checklist
Before approving a pot light layout
Use these questions to turn a fixture count into a plan that works after the installation is complete.
- Which surfaces need task light, and where could a person cast a shadow?
- Which seating positions, screens, mirrors or glossy finishes need glare protection?
- Should ambient, task and decorative lighting operate on separate controls?
- Does the fixture and dimmer combination provide smooth low-end dimming?
- What ceiling access, wiring route and drywall-repair assumptions are written into the scope?
- How will product specifications and future replacement information be recorded?
Know what a useful quote should clarify
A single per-fixture amount does not show whether two proposals describe the same work. Six replacements in accessible existing housings are materially different from six new locations across a finished ceiling beneath plumbing or ductwork. Ceiling height, wiring routes, controls and product selection can also change the scope.
A written proposal is easier to compare when it identifies the room or exterior area, planned fixture quantity, product details, control devices, wiring assumptions, ceiling access, included equipment and any exclusions. Ask whether fixture supply, trim, driver, dimmer, removal of old products, notification handling and finish restoration are included. If an obstruction is found, the scope should explain how a change is documented and approved.
Our pot light installation cost guide explains why fixture count is only one of the factors behind a property-specific quote.
Ontario electrical responsibility should be clear before work begins
In Ontario, ESA states that only Licensed Electrical Contractors may be hired to perform residential electrical work, subject to limited regulatory exemptions. The project scope should identify the Licensed Electrical Contractor responsible for the electrical portion of the work and the applicable notification process.
Ontario electrical work
Confirm who is responsible for the electrical scope
Before work begins, confirm the Licensed Electrical Contractor responsible for the electrical work and whether the scope identifies the applicable ESA notification process. If a notification is filed and accepted, request and retain the Certificate of Acceptance.
When notified work is accepted, the party that filed receives a Certificate of Acceptance. Ask for a copy when the contractor filed the notification, and keep it with the accepted scope, product information and final layout. Current requirements and the work at the property determine what applies, so project-specific questions should be confirmed before the work begins.
Information that makes the first lighting discussion more useful
Wide photographs and a few measurements can make early planning more productive. They establish the room’s proportions, finishes, visible fixtures and switch locations without pretending to reveal what is inside the ceiling.
- Measure the room and note the ceiling height.
- Photograph the complete room, ceiling, existing fixtures and switch locations.
- Show any safely accessible attic, unfinished area or adjacent space.
- Identify fixed cabinetry, furniture, artwork and work surfaces that will remain.
- Note whether you want a new installation, replacement fixtures, revised switching or dimming.
- For existing fixtures, photograph labels only where they can be seen safely without disturbing energized equipment.
For a kitchen-specific project, include the cabinet plan and island details. Our kitchen pot lights page covers counter task lighting, pendant coordination and under-cabinet layers in more detail.
The goal is not to force every room into an identical grid. It is to create a lighting plan that supports the surfaces, movement and activities in front of you while keeping concealed conditions, service access and controls visible in the scope.
Helpful answers
Frequently Asked Questions
Start with a room-specific lighting plan
Share the space, ceiling height, current lighting and safe-to-take photos so we can begin with the conditions that shape the scope.