
Pot Lights in Finished Ceilings
Understand what can and cannot be confirmed before new pot lights are routed through an existing finished ceiling.
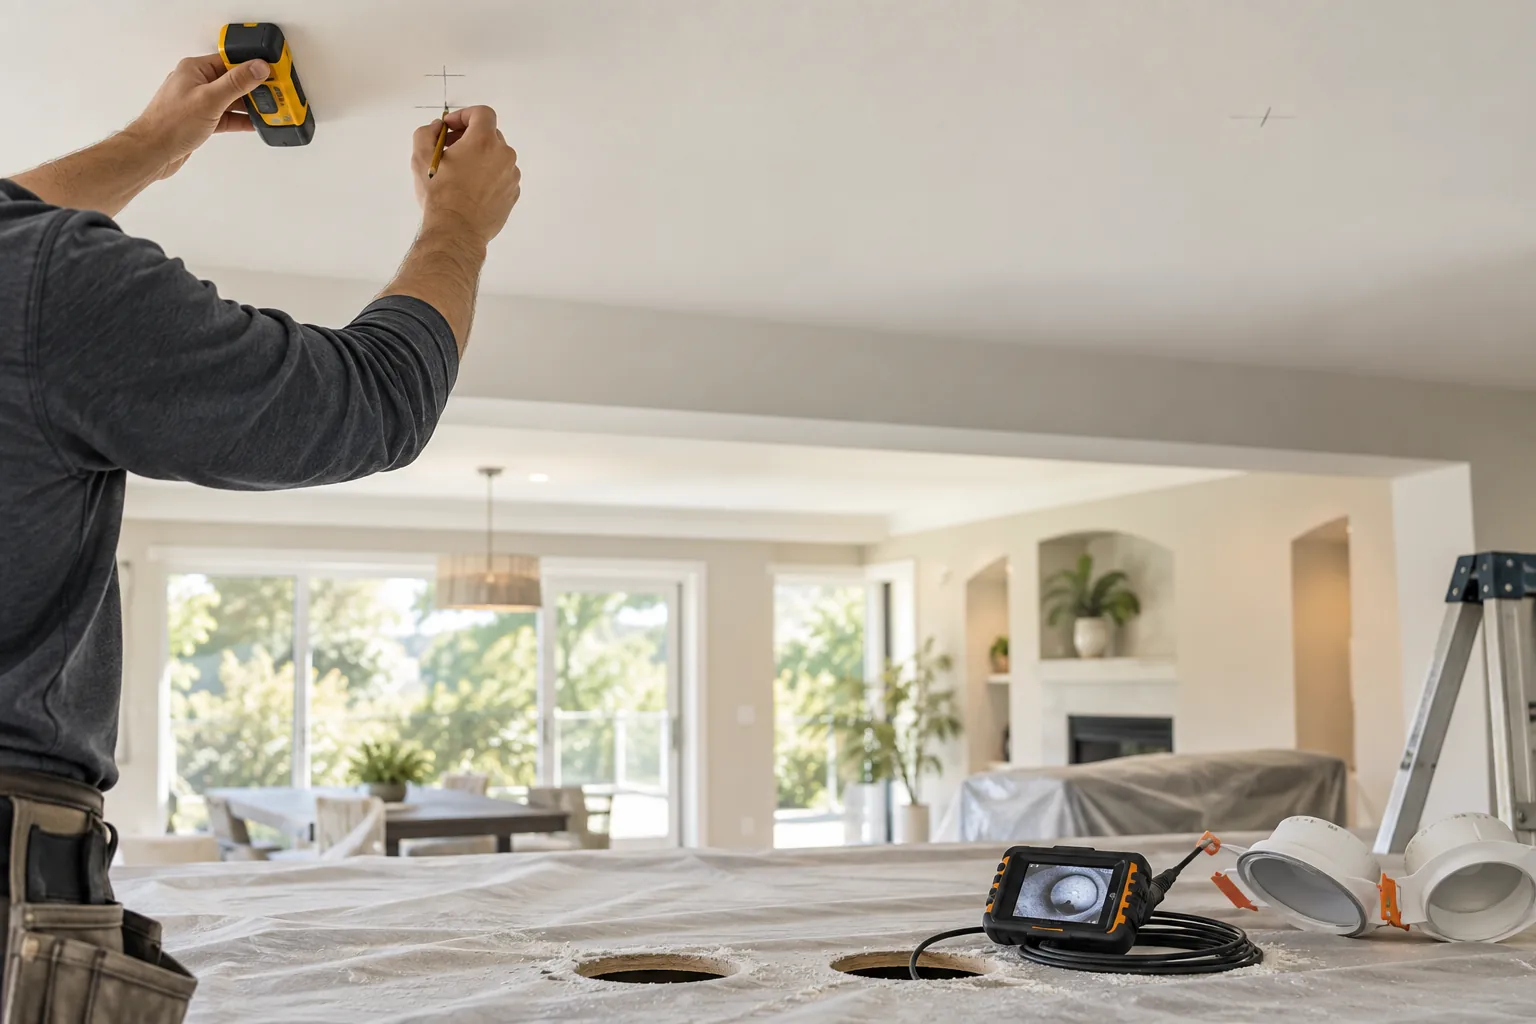
A finished ceiling hides the route
A clean drywall surface does not reveal which joist bays are open, where ducts cross the room, whether plumbing occupies the preferred line or where blocking interrupts a route. The visible room still matters for layout, but the electrical path has to be investigated separately. That is why a precise-looking ceiling plan cannot guarantee a precise cable route before the concealed conditions are checked.
No attic access does not automatically make new pot lights impossible. It does mean the scope must allow for investigation, flexible locations and a clear approach to any openings needed for routing. Slim modules reduce the depth needed at a fixture opening, yet the cable and driver still need a suitable, accessible position above the ceiling.
- Confirm which floor or roof space is above the room.
- Record joist direction where it can be verified.
- Locate visible bulkheads, beams, vents and plumbing walls.
- Identify every existing light and switch location.
- Discuss acceptable repair boundaries before openings are made.
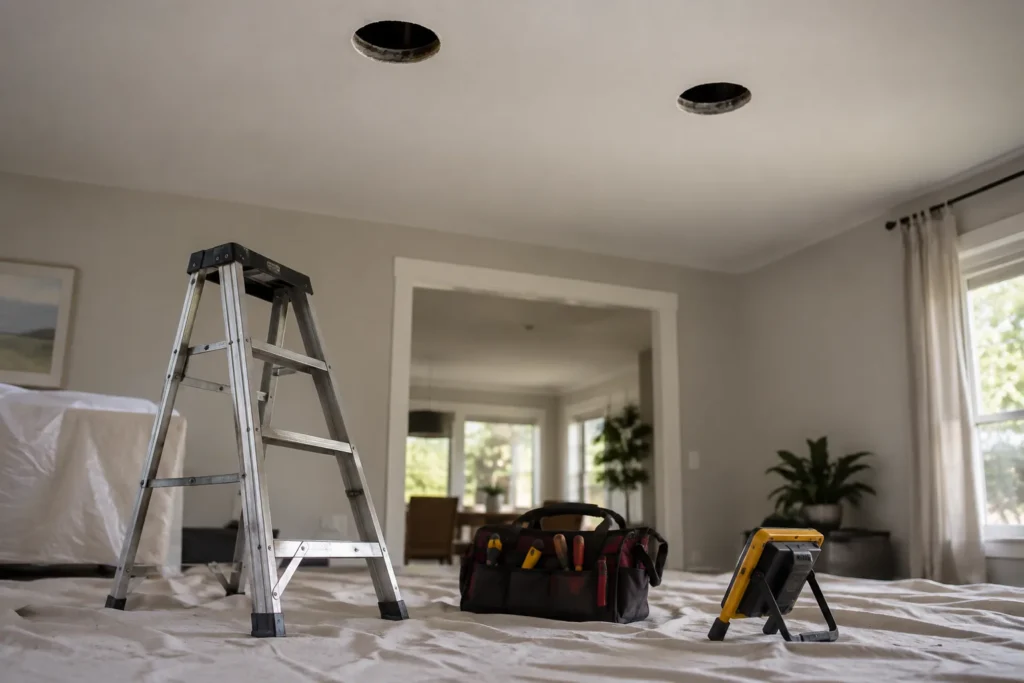
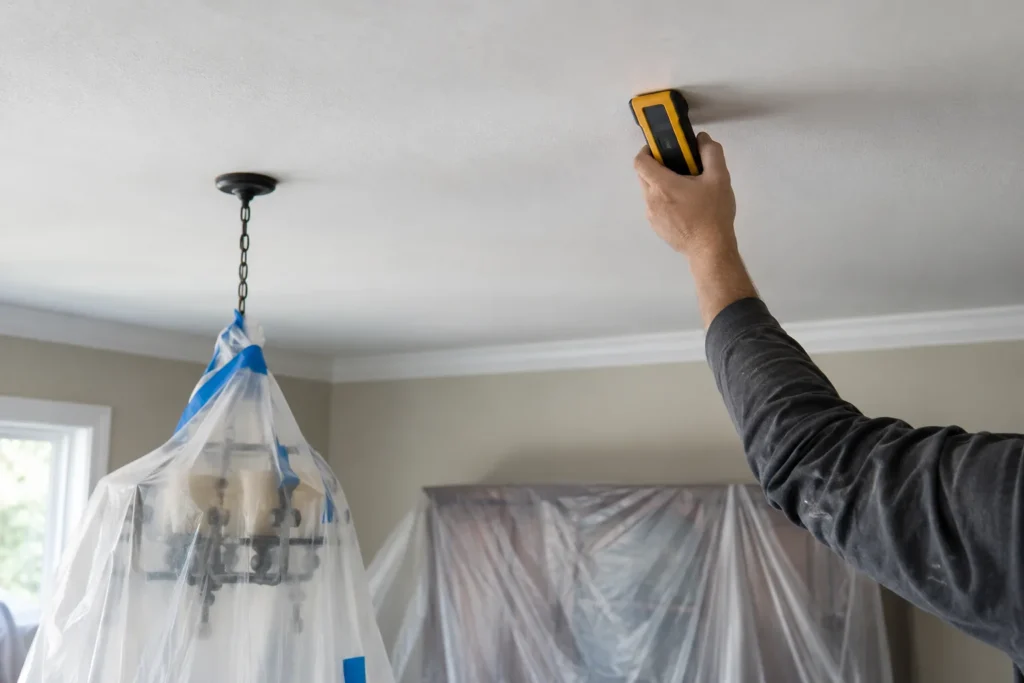
Joists establish lanes, not guaranteed clear paths
Cable commonly travels within or across framing bays, but a joist map is not a complete obstruction map. Bridging, blocking, engineered members, ducts and pipes can occupy the same space. Drilling structural members is governed by construction and electrical requirements; it is not a casual workaround whenever a desired row crosses framing.
A layout should therefore distinguish between critical alignments and flexible positions. Kitchen lights serving a counter edge may need to maintain their relationship to the cabinets, while a general living-area light may move slightly without changing the result. That hierarchy lets the field plan respond intelligently when the ceiling reveals something unexpected.
- Solid lumber, engineered joists and trusses have different restrictions.
- Ducts can occupy most of a bay even when a vent is several feet away.
- Plumbing routes often cluster below bathrooms and near exterior hose connections.
- Fire blocking and dropped beams can stop a straight pull.
- Existing insulation affects both working access and fixture suitability.
Ducts, pipes, blocking and insulation
A proposed fixture needs physical clearance and a cable route. Ductwork may force the aperture away from the ideal point or require a different fixture profile. Water and drain lines can cross several bays. Dense insulation can make investigation difficult and may require a product suitable for the specific ceiling condition.
These conflicts are not visible in a room photograph. An inspection camera, electronic sensing tools, access from an adjacent unfinished area and carefully selected exploratory openings can provide more information, but each method has limits. The scope should state what is known, what remains an assumption and what happens if the preferred route is blocked.
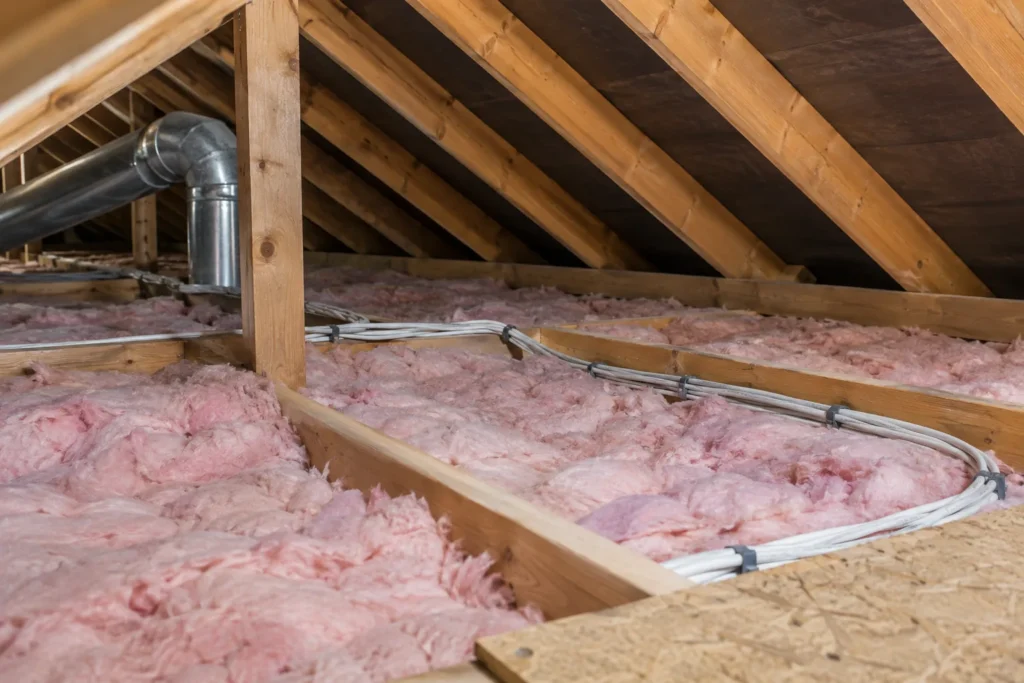
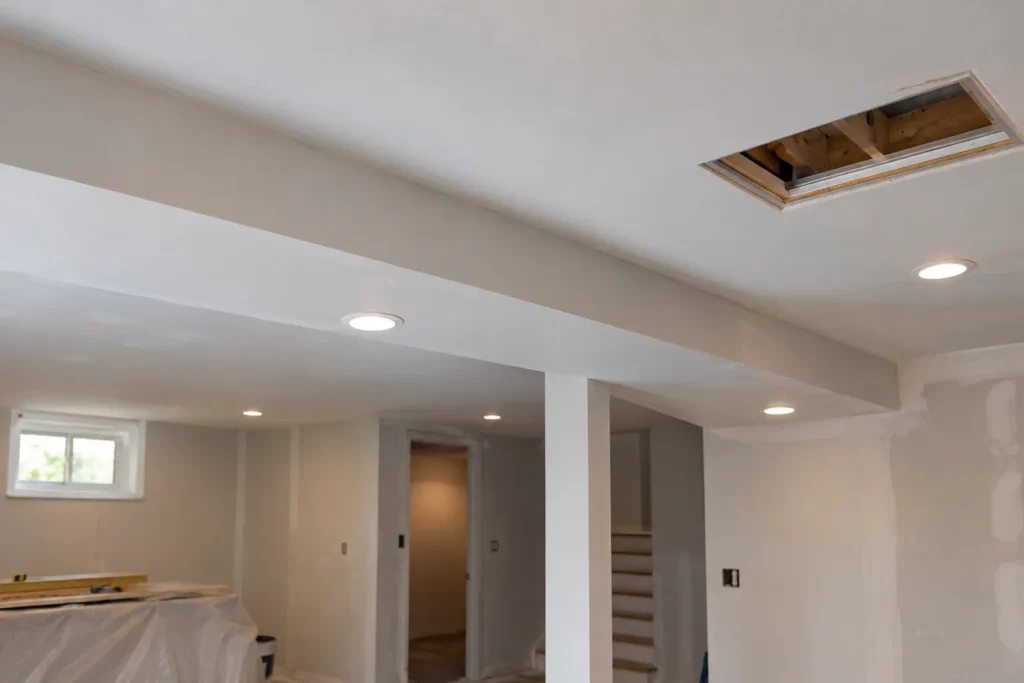
Access openings and drywall repair
Some finished-ceiling installations can be completed through the fixture openings and existing boxes. Others require one or more additional access openings to cross framing or reach a junction point. The number and position cannot always be known until the route is explored. Promising no drywall impact from a photograph shifts a concealed risk into the work instead of resolving it.
Clarify whether the electrical scope includes making access openings, closing them, applying compound, matching texture and repainting. These are separate skills and may be completed by different trades. Even a well-repaired patch can require a larger paint area when sheen or colour has aged.
- Identify who opens and closes access points.
- State whether sanding, priming and paint are included.
- Protect furniture and floors before investigation.
- Keep openings purposeful rather than exploratory without a plan.
- Photograph concealed conditions before closing where useful.
Fixture and driver access still matter
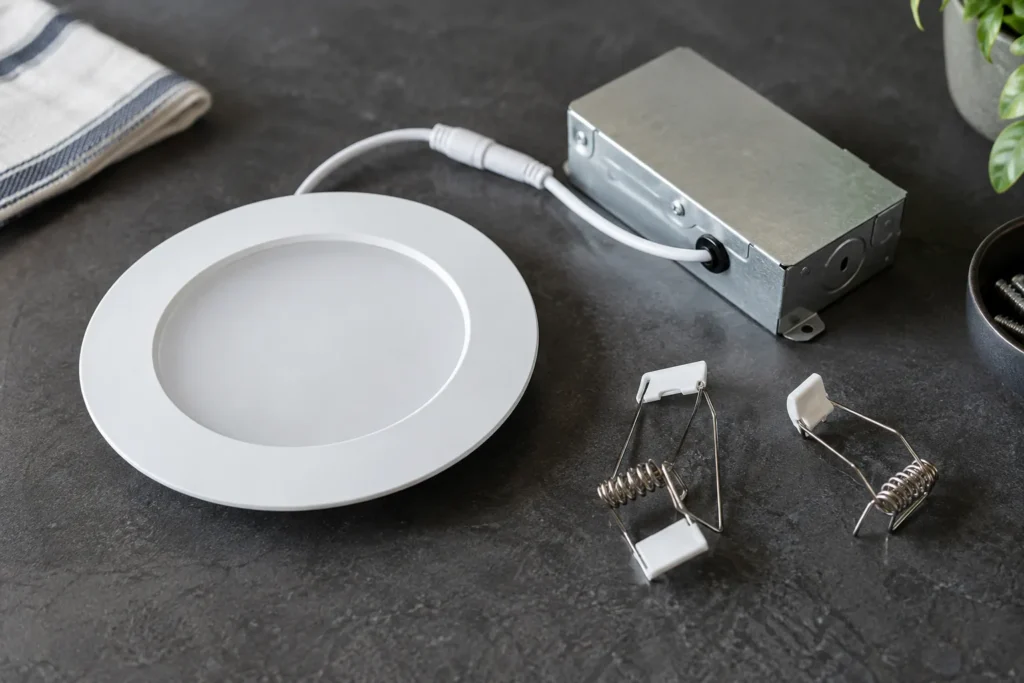
Canless lights are often called wafer or slim lights. They can fit where a traditional housing cannot, but they are not clearance-free. The remote driver or junction component needs a location that meets product instructions and remains retrievable through the fixture opening or another approved access point.
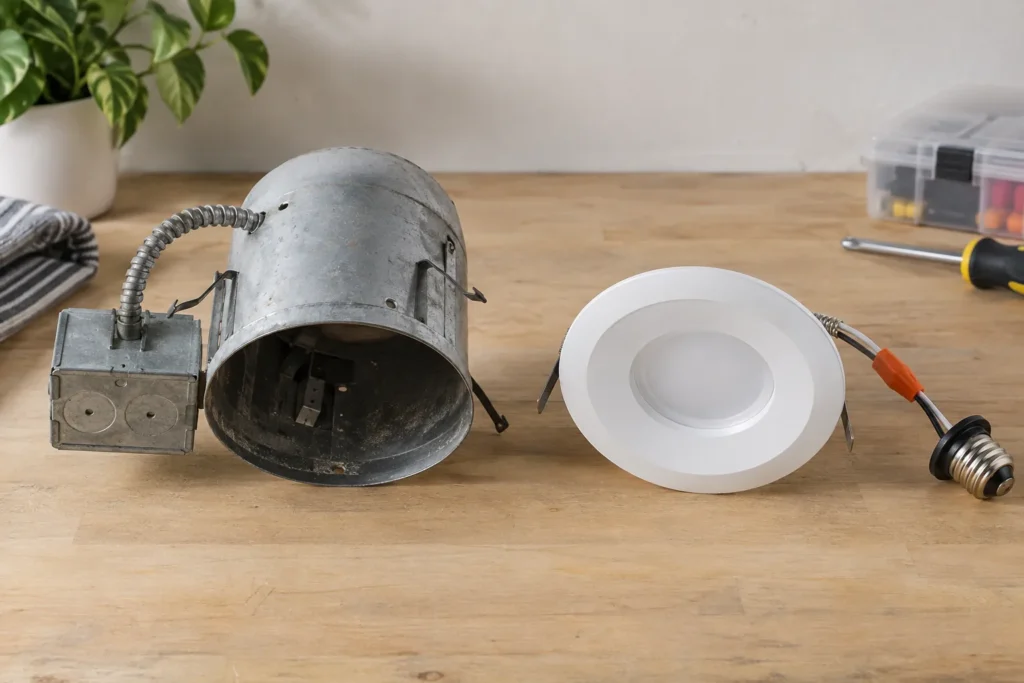
Traditional housings, retrofit modules and slim products each have different service paths. Select a system based on ceiling depth, insulation, location rating, visual comfort and future replacement—not simply because one product is currently easy to purchase.
Electrical notification and documentation
Hired residential electrical work in Ontario must follow the Licensed Electrical Contractor requirements. When the scope requires a notification, the Licensed Electrical Contractor doing the electrical work handles the applicable filing and process. ESA decides which installations it inspects or otherwise reviews.
After notified work is accepted, retain the Certificate of Acceptance with the property records. Also keep fixture model information, dimmer compatibility data, colour-temperature settings and photographs that show accessible driver locations. Those records make later replacement and troubleshooting more efficient.
Questions to settle before work starts
The quote should name the rooms, fixture quantity or layout basis, selected product, control zones, assumed cable route, ceiling height and access conditions. It should also identify any areas that remain subject to field verification and explain how changes will be approved.
Provide wide room photographs rather than only close ceiling photos. Include the floor above where relevant, nearby unfinished spaces, the electrical panel if requested safely, all switch locations and any renovation drawings. The goal is not to diagnose the complete route remotely; it is to arrive with a more accurate list of what must be verified.
- Which locations are fixed by cabinetry or furniture?
- Where can a light move slightly if a bay is blocked?
- Is attic or unfinished-space access available?
- Who is responsible for finish repair?
- Which Licensed Electrical Contractor handles the electrical work and notification?
Apply pot lights in finished ceilings to the actual property
A guide is most useful when it produces a short list of facts to verify. Measure the room or exterior area, record ceiling height, identify the surfaces and activities that need light, and photograph the complete setting from normal viewpoints. Include existing fixtures, switches, vents, bulkheads, cabinetry and any safely accessible unfinished space. Those details make product and route discussions specific without pretending that photographs reveal concealed conditions.
Separate decisions into three groups. First are visible outcomes: where light should land, how bright the area should feel and which fixtures should be visually quiet or decorative. Second are installation conditions: framing, wiring, boxes, support, exposure and access. Third are operating choices: switching zones, dimming, sensors, schedules and connected features. A complete scope addresses all three instead of reducing the project to a fixture count.
Review the proposal from normal standing and seated positions, not only from directly below a fixture. A ceiling arrangement can look orderly while missing a counter, producing television glare or making a bright aperture conspicuous over a bed. Exterior positions also need views from the property edge, driveway and neighbouring directions. These observations translate general guidance into useful location priorities.
Ask the written quote to name the proposed products, quantities, control devices, access assumptions, protection, cleanup, notification handling and exclusions. Where a route or support condition cannot be verified in advance, the quote should explain how a change is assessed and approved. Drywall finishing, painting, cabinetry, structural work and other trades should be identified clearly rather than assumed.
After installation, review output, glare, dimming and control operation in the conditions where the lighting will be used. Exterior aiming should be checked after dark from the property edge and neighbouring directions. Keep the layout, product model numbers, colour settings, control data and any Certificate of Acceptance with the property records so future service does not begin from guesswork.
- Verify the room, target surfaces and ceiling height.
- Match product data to the exact location.
- State concealed-condition and finish assumptions.
- Confirm the Licensed Electrical Contractor responsible for electrical work.
- Retain the final product, control and acceptance records.
Pot Lights in Finished Ceilings FAQs
Can pot lights be installed with no attic access?
Often, yes. The route may be available through fixture openings, existing boxes or selective access points, but concealed framing and services must be investigated. No-attic-access work should not be quoted as automatically damage-free.
Do slim pot lights fit below every obstruction?
No. Slim modules reduce fixture depth, but the opening, cable, driver, insulation condition and product clearances still have to work together. A duct or structural member can still block the preferred location.
How many access holes will be needed?
That cannot always be confirmed before investigation. Joist direction, blocking, ducts and route length affect the answer. The scope should explain the assumptions and the approach if additional access becomes necessary.
Who repairs the drywall?
That depends on the written scope. Electrical work, drywall finishing and painting may be separate. Confirm responsibility for opening, closing, compound, texture, primer and paint before work starts.
Can a ceiling route be guaranteed from photos?
No. Photos show visible finishes and room geometry but not every concealed obstruction. They help planning; they do not replace on-site investigation.
Plan the lighting around the space—not a generic grid.
Share the room or exterior area, ceiling height, current lighting, preferred fixtures and any photos that show access conditions. That information makes the first conversation more useful.