
Pot Lights in a Finished Ceiling: What to Know About Access, Joists & Drywall
How concealed framing, services, cable routes and finish repair affect new pot lights in an existing ceiling.
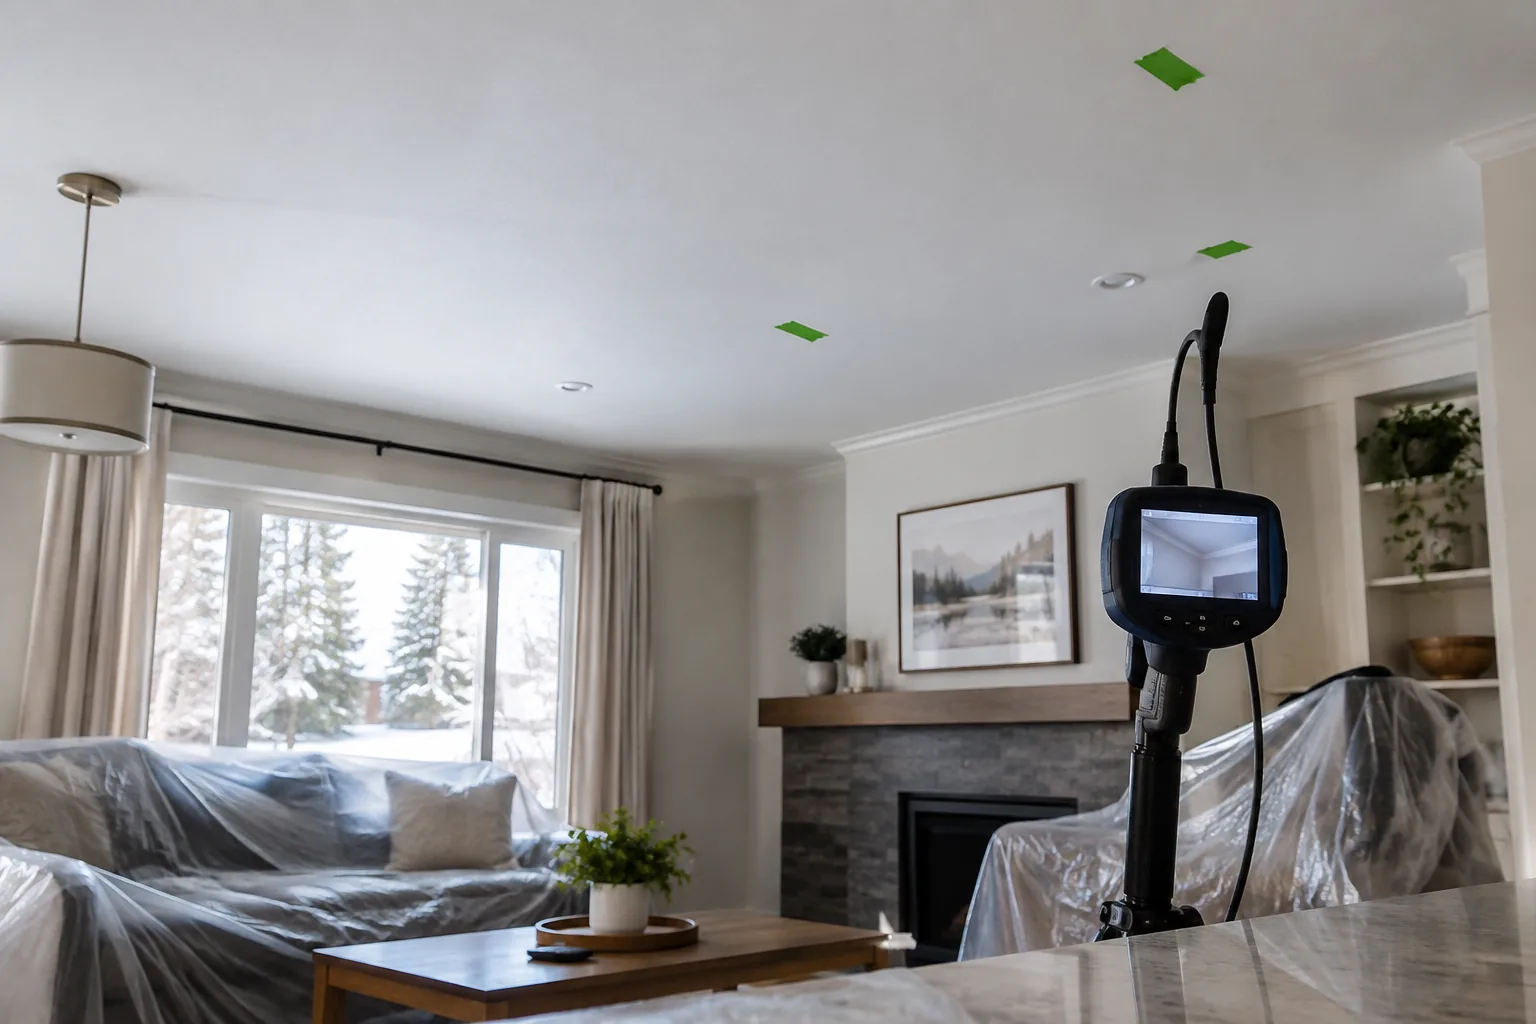
Finished ceilings make routing less predictable because the drywall conceals framing, ducts, pipes, insulation and existing wiring. A careful scope distinguishes the lighting layout from the access required to complete it.
The visible ceiling is only the finish layer
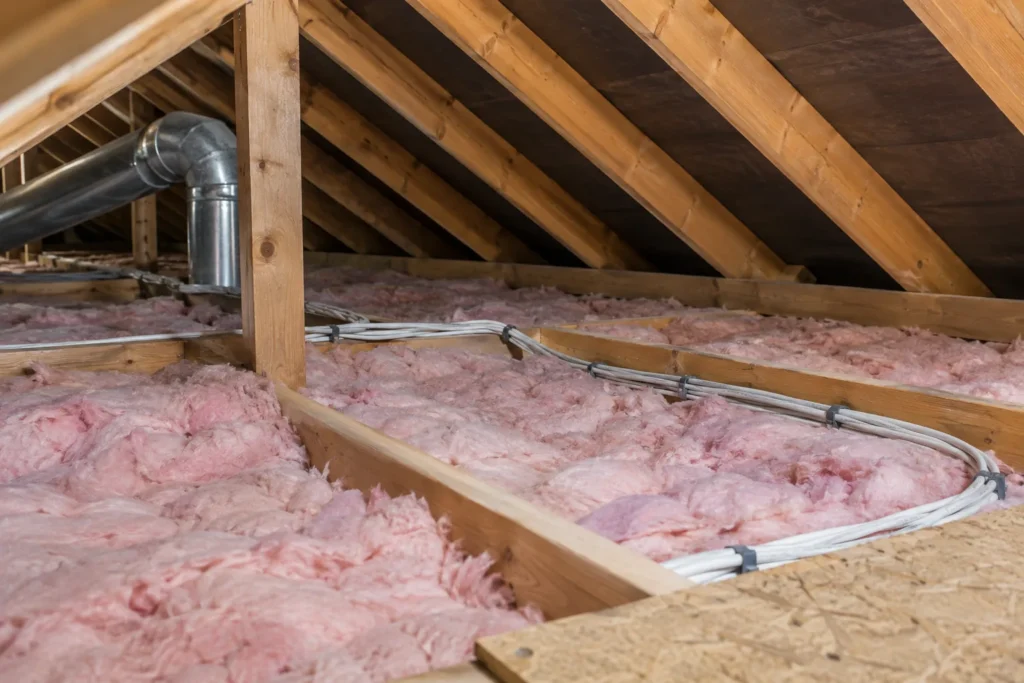
Drywall provides a clean plane but says little about the cavity above it. Conventional joists, engineered members, trusses, bridging and blocking form different routes. Heating ducts, plumbing, drains, gas piping, insulation and low-voltage systems can occupy the same bays. A switch nearby confirms only that some wiring reaches that box; it does not prove a clear route to every proposed fixture.
A finished-ceiling plan must therefore carry uncertainty honestly. Room photographs and measurements can establish useful positions, while field investigation establishes routes. Keeping those tasks separate allows the layout to remain intentional without promising a concealed condition that has not been seen.
- Identify the floor or roof assembly above.
- Locate visible bulkheads, vents and plumbing walls.
- Record existing outlets and switches.
- Note accessible attic, closet or unfinished space.
- Agree on protection and repair boundaries.
Joist direction helps, but does not reveal a clear bay
Knowing joist direction can show which fixture rows are likely to share a framing bay. It can also show where a route must cross framing. That information is useful, but it is incomplete. Blocking, solid engineered members and building services may interrupt a bay that appears open from below. Structural members cannot be altered casually to preserve a preferred ceiling pattern.
A layout should mark high-priority relationships, such as a kitchen counter row, separately from positions that can move by a modest amount. If a conflict appears, the installer can preserve the important light target while maintaining reasonable alignment elsewhere. A rigid plan that allows no field response can create unnecessary finish work.
- Treat joist maps as guidance, not certainty.
- Do not assume drilling is always acceptable.
- Protect structural and mechanical systems.
- Preserve lighting targets when a position moves.
- Record approved location adjustments.
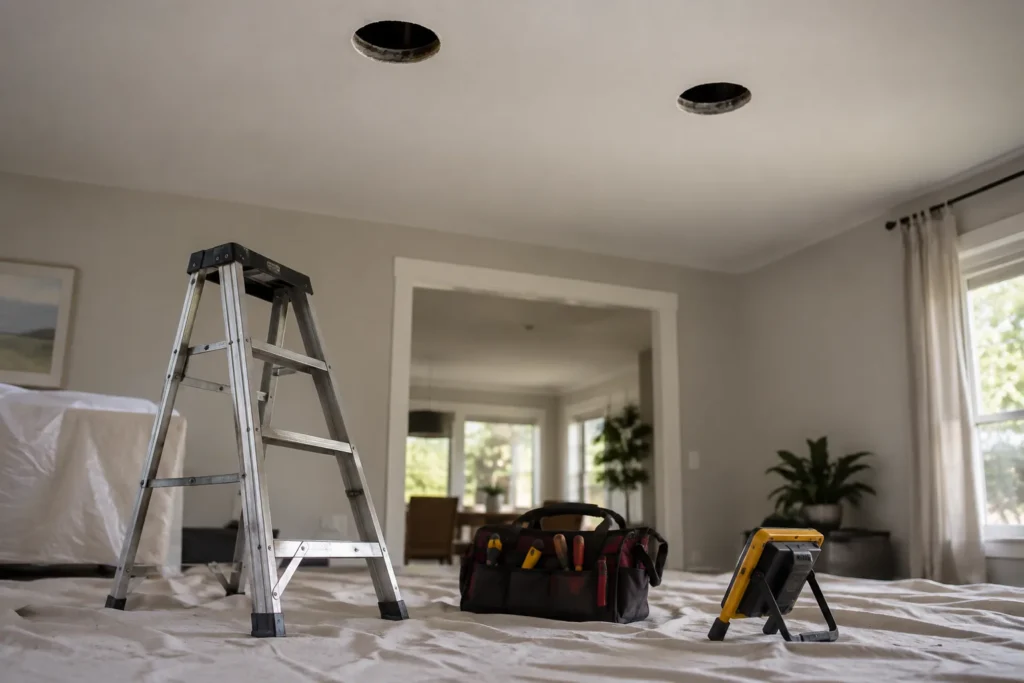
Slim fixtures solve depth, not every access problem
Low-profile canless modules fit where a traditional housing may not. Their thin light engine is valuable below shallow framing or ducts. The product still includes cable connections and a driver box that must be installed according to its instructions and remain appropriately accessible. Insulation contact, damp-location ratings and clearance conditions depend on the exact product.
A small fixture opening can sometimes support fishing cable along a clear bay. Crossing several bays or reaching a remote switch path may require another access point. The right product reduces certain constraints; it does not make framing, wiring rules or future service disappear.
- Check the complete fixture and driver dimensions.
- Confirm location and insulation ratings.
- Plan driver placement for future service.
- Retain manufacturer instructions.
- Do not confuse a thin module with a clear cable route.
Investigation should be deliberate and limited
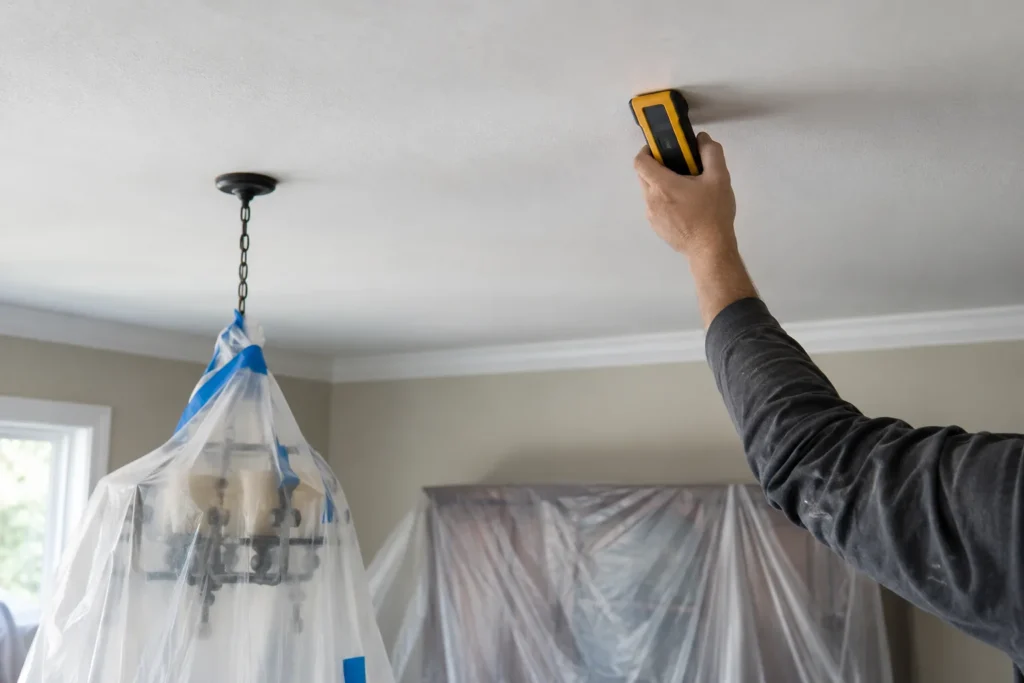
Non-destructive observations come first: rooms above and below, attic access, exterior roof lines, mechanical locations and existing fixtures. Electronic locating tools and small exploratory openings can add information, but each method has limits. A locator may suggest framing or metal without identifying the complete object. Existing openings can reveal one bay without proving the next one is clear.
The purpose of investigation is to reduce uncertainty enough to make a safe installation decision. It is not to create an absolute guarantee about the entire cavity. The project scope should state what is known, what remains uncertain and the approval path if additional access becomes necessary.
- Start with building context.
- Use existing openings where safe and useful.
- Confirm before cutting each final aperture.
- Stop when an unknown condition changes the scope.
- Document the decision before adding access.
Drywall access and drywall finishing are different work
An electrical installer may need an opening to route cable or inspect a conflict. Closing that opening, applying compound, sanding, matching texture, priming and painting form a finish sequence with drying time and dust control. A quote should say which of those tasks are included. The phrase minimal damage is too vague unless the acceptable openings and repair responsibility are described.
Paint matching can extend beyond the small repair because sheen and ageing affect the surrounding ceiling. Decorative plaster, textured finishes, acoustic treatments and wallpaper require special discussion. Furniture protection, floor covering and occupancy schedules also matter in completed homes.
- Define who opens and closes access points.
- State whether compound, sanding and primer are included.
- Treat paint and texture matching separately.
- Protect rooms before dusty work begins.
- Photograph concealed routes before repair.
Layout flexibility protects the finished result
A useful drawing can show preferred positions, allowable adjustment zones and critical alignments. Counter lighting may have a tight acceptable band, while a general hallway fixture may move slightly without changing performance. Decorative pendants, ceiling fans and symmetrical wall features usually set stronger visual anchors than a blank ceiling edge.
When a location moves, review beam coverage and the entire row rather than shifting one aperture in isolation. Sometimes moving two fixtures by smaller amounts preserves the visual rhythm better than moving one dramatically. The homeowner should understand which relationships guide the final choice.
- Mark critical task-light bands.
- Identify visual centre lines.
- Allow modest movement where performance permits.
- Recheck beam overlap after adjustment.
- Approve major changes before cutting.
The electrical scope still follows Ontario requirements
Finished-ceiling difficulty does not change who may be hired for residential electrical work. ESA states that only Licensed Electrical Contractors may be hired, subject to limited exemptions. The contractor responsible for electrical work should be identified, and current ESA resources should be used to confirm the business and the notification path for the actual work.
Where an electrical notification is required, the Licensed Electrical Contractor handling the work is responsible for the applicable process. ESA determines which notified installations it inspects or otherwise reviews. After the notified work is accepted, retain the Certificate of Acceptance with the fixture and layout records.
- Verify the Licensed Electrical Contractor.
- Clarify who files any required notification.
- Keep the accepted-work documentation.
- Retain fixture and control data.
- Do not treat acceptance as a review of unrelated systems.
A stronger quote names the assumptions
A finished-ceiling quote should identify fixture quantity and model, cable-route assumptions, switching changes, access equipment, room protection, possible openings, repair responsibility, notification handling and exclusions. If the route cannot be confirmed before work begins, the quote should explain how additional labour or finish work will be approved rather than hiding that uncertainty.
Provide wide room photographs, ceiling height, the floor plan above, known renovations and any access points. Mention radiant heating, complex trim, specialty ceilings or sensitive contents. A complete description does not remove every unknown, but it lets all parties price and plan the same job.
- Compare the same fixture and control scope.
- Read repair assumptions carefully.
- Ask how unforeseen obstructions are handled.
- Confirm cleanup and disposal.
- Keep changes in writing.
Turn the article into a short site-review checklist
Before requesting a price, write down the decisions this article helped you make and the conditions that still require verification. Include dimensions, ceiling height, intended light targets, existing fixtures and controls, access above or beside the area, and product preferences. Wide photographs should show the full ceiling or exterior elevation and normal viewing positions. Do not remove electrical covers or enter unsafe ladder, attic or roof areas to collect information.
Ask the final scope to identify products, fixture quantity, control devices, routing assumptions, protection, cleanup, electrical notification and excluded finish work. Keep the accepted scope, later changes, product documentation, final layout and Certificate of Acceptance for notified work together. Those records give future service work an accurate starting point.
Questions about this topic
Can new pot lights be installed without attic access?
Often they can, but the cable route and any required access depend on framing and concealed services. No-attic access is not the same as no-access-opening work.
Do slim LEDs eliminate drywall openings?
They reduce fixture depth and use a small ceiling aperture, but cable routing and driver placement can still require access.
Can joist direction be confirmed from a photograph?
A photograph may show clues, but it cannot reveal every joist, block, duct or pipe. Field investigation is still needed.
Who repairs and paints the ceiling?
The written scope should say. Opening, closing, compound, sanding, texture, primer and painting are separate tasks unless they are expressly included.
What should be kept after the work?
Keep the layout, product model, dimmer data, photographs of concealed routes where available, and the Certificate of Acceptance for notified work.
Related Oakville lighting resources
Turn the planning notes into a property-specific scope.
Share the room or exterior area, dimensions, ceiling height, existing lighting, preferred fixtures and safe-to-take photographs. Concealed conditions and current requirements still need to be verified for the actual work.