
How Many Pot Lights Does a Room Need? A Practical Layout Method
A room-by-room method for estimating pot-light quantity from surfaces, beam spread, ceiling height, furniture and controls.
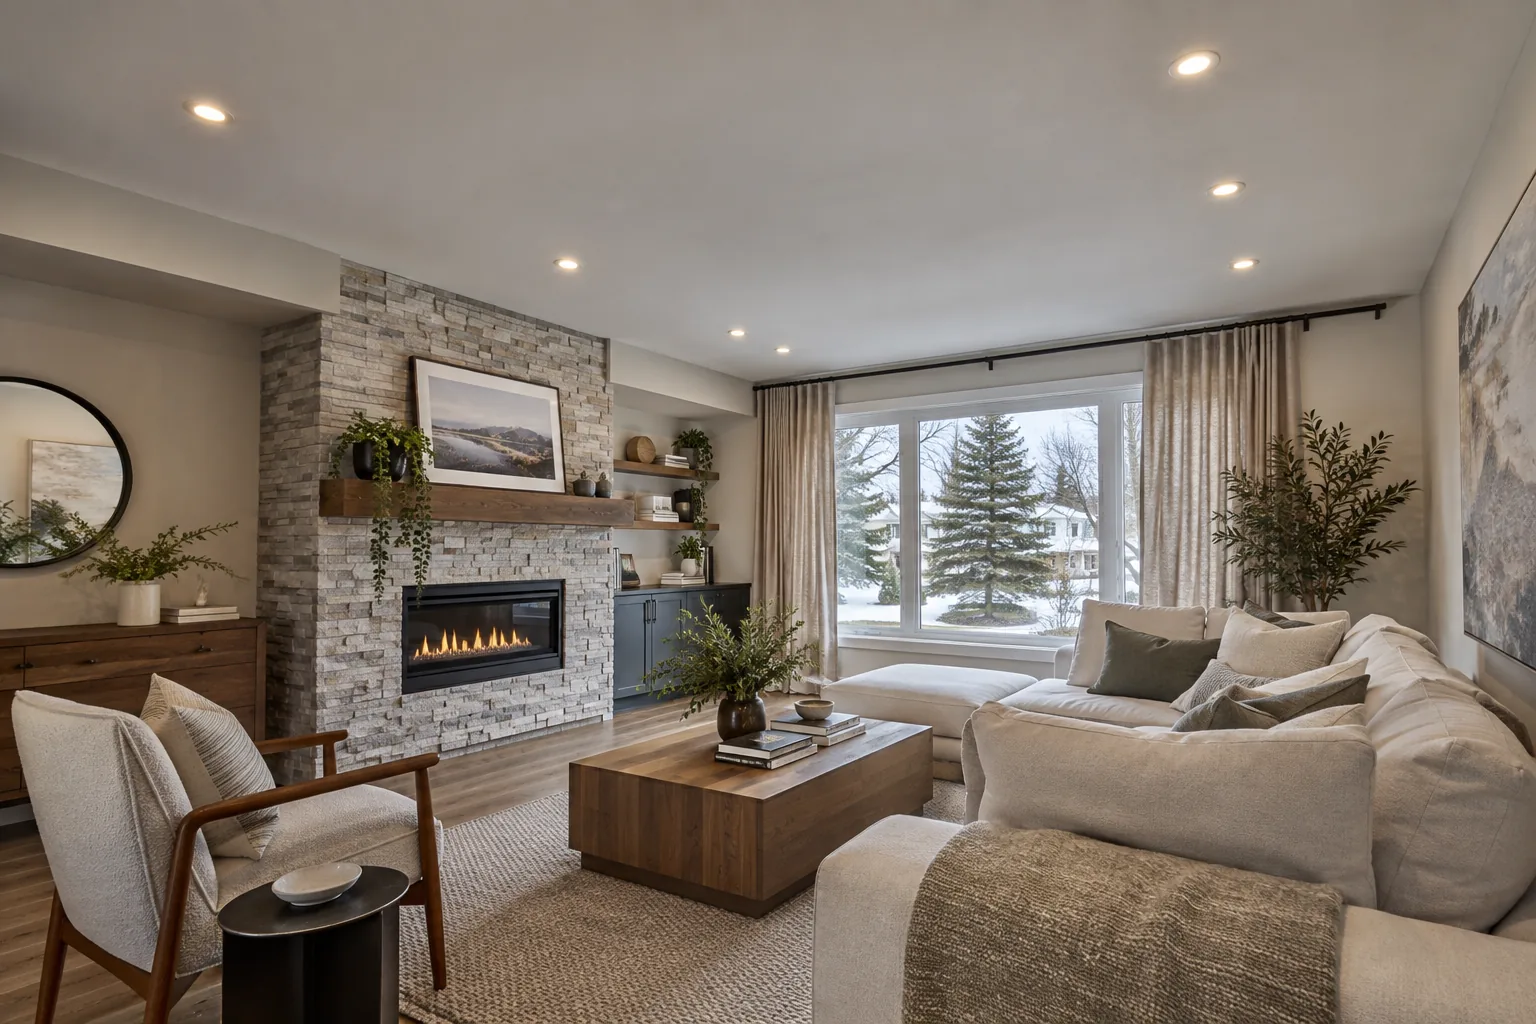
There is no responsible fixture-count formula based on square footage alone. Start with the surfaces and activities that need light, test beam relationships, then turn those decisions into a ceiling layout that can be routed and controlled.
Begin with the room, not a universal spacing number
A pot light is an optical product, not a point on graph paper. Its lumen output, beam distribution, aperture depth and trim affect how much useful light reaches a surface. Ceiling height changes the size and intensity of that beam before it reaches a counter, floor or table. Wall colour, cabinet finishes and daylight also change the brightness people perceive. Those variables explain why two rooms of equal area can need different quantities.
The first drawing should mark the fixed uses of the room: counter fronts, an island, a dining table, seating, a television, artwork, wardrobes and circulation. Place lighting in relation to those uses before looking for visual order on the ceiling. Symmetry still matters, but it should organize useful positions rather than force lights into locations that miss the work.
- Measure the room and ceiling height.
- Draw fixed cabinetry and likely furniture.
- Mark task surfaces and focal walls.
- Record windows and decorative fixtures.
- Identify every room entry and desired control point.
Define the lighting layers before counting fixtures
Ambient light supports general movement and orientation. Task light serves work such as food preparation, reading, grooming or desk activity. Accent light adds emphasis to art, millwork, a fireplace or a textured wall. Decorative light contributes visual scale and atmosphere even when it also provides useful output. A strong plan decides which layers are needed instead of asking pot lights to perform every role.
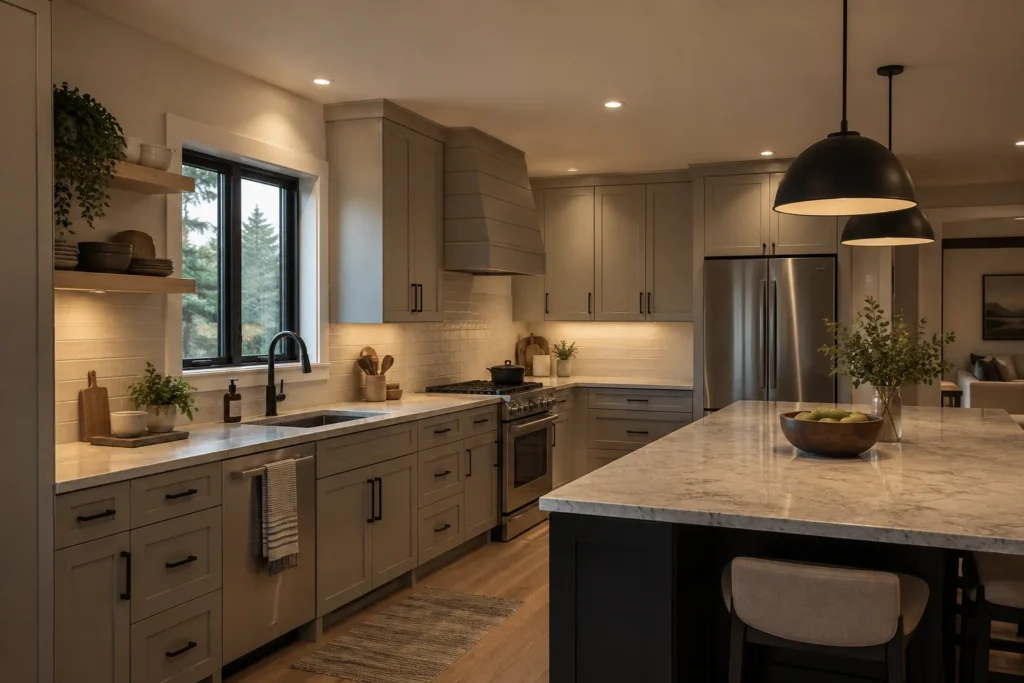
A kitchen with pendants and under-cabinet lighting may need fewer ceiling fixtures than a kitchen relying on pot lights alone, yet those pot lights must still fill circulation and sink areas. A living room with table lamps can use a softer ceiling layer. Counting without listing the layers tends to create either unnecessary apertures or dark areas that cannot be corrected by simply increasing the dimmer.
- Ambient light for circulation
- Task light for work surfaces
- Accent light for selected vertical surfaces
- Decorative light for scale and character
- Low-level light for evening orientation
Read beam spread as a relationship
Beam angle describes the main cone of light, but photometric distribution and delivered lumens determine how that cone behaves. Adjacent beams usually need some overlap for even general illumination. Too little overlap can leave obvious dark bands; excessive overlap from powerful fixtures can make the ceiling visually busy and the room harder to dim comfortably.
Published photometric files or spacing criteria are more useful than a nominal wattage. Where detailed data are unavailable, review the manufacturer’s stated beam angle and intended ceiling-height range, then treat the first layout as a working plan. Adjustable fixtures can redirect emphasis, but they do not excuse poor placement. The aperture still remains visible from seating and should be considered from normal viewpoints.
- Compare delivered lumens, not only watts.
- Check beam angle and ceiling-height guidance.
- Use deeper apertures where glare is a concern.
- Keep adjustable lights for deliberate targets.
- Confirm dimming before relying on excess output.
Use a practical sequence for the first layout
Start with the most constrained relationship. In a kitchen, that is often a row serving the counter edge. In a living room, it may be the television and seating sightline. In a hallway, the centre path and door rhythm matter. Once the priority positions are established, add only enough ambient fixtures to connect the room. Measure the resulting offsets from walls, cabinets and one another, then review the plan from every doorway.
Next, check the ceiling structure and visible conflicts. Pendants need canopy space. Fans require blade clearance. Supply registers, sprinklers, speakers, smoke alarms and access panels compete for the same surface. A mathematically regular row that crowds another ceiling element will look less resolved than a slightly adjusted pattern with clear relationships.
- Place task and focal positions first.
- Add the minimum ambient layer that connects them.
- Coordinate fans, pendants, vents and life-safety devices.
- Review the plan from seated and standing views.
- Allow controlled movement for concealed obstructions.
Change the method for each room type
Kitchens prioritize counters, the sink, appliance fronts and island circulation. Living rooms prioritize glare control, seats, art and fireplace texture. Bedrooms should avoid bright downlights directly over pillows while supporting dressing and wardrobes. Bathrooms need location-suitable fixtures, useful shower light where appropriate and strong vertical light at the mirror. Basements require careful response to bulkheads, lower ceilings and several uses within one open area.
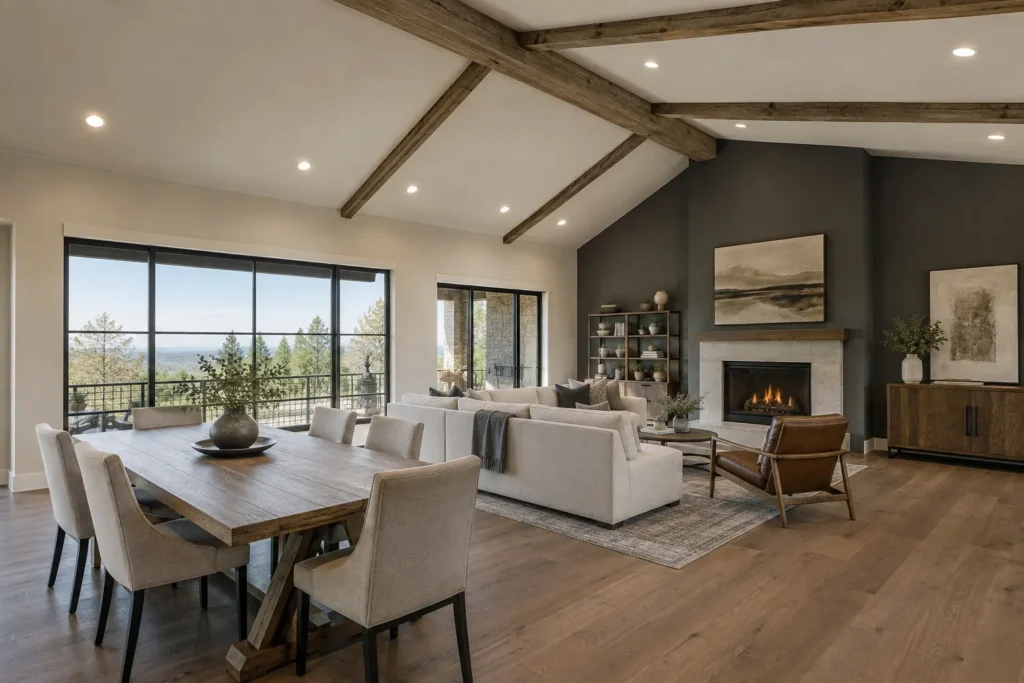
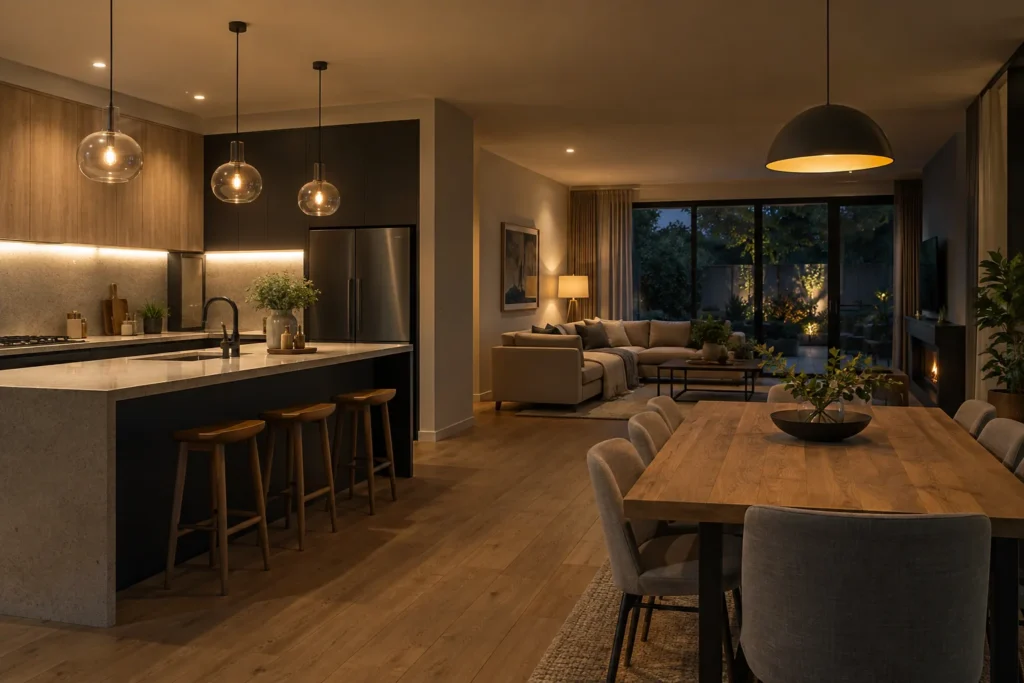
Connected rooms can share trim and colour temperature without sharing one brightness level. Treating an open plan as several coordinated zones lets cooking, dining and relaxing happen at once. The layout should explain those zones clearly enough that the switching plan follows naturally rather than being improvised after the ceiling has been cut.
- Kitchen: prioritize work surfaces.
- Living room: protect media and seating sightlines.
- Bedroom: favour low glare and dimming.
- Bathroom: balance ceiling and mirror light.
- Basement: integrate bulkheads and mixed uses.
Check the layout against finished-ceiling reality
A plan drawn from below cannot show every joist, duct, pipe, block or cable. Joist direction may establish likely lanes, but a clear lane is not guaranteed. Slim fixtures reduce the depth required at each opening; their cable and driver still need a suitable route and accessible position. The layout should identify which locations are critical and which can move slightly if investigation reveals an obstruction.
The quote should state the finished-ceiling assumption and how additional access will be handled. Drywall opening, closing, compound, sanding, texture and painting are separate tasks unless expressly included. A precise plan remains valuable because it defines priorities, even when one or two positions require a measured field adjustment.
- Confirm what is above the ceiling.
- Identify attic or unfinished access.
- Separate critical positions from flexible positions.
- Document repair and protection assumptions.
- Do not promise a hidden route from photographs.
Turn fixture groups into understandable controls
Fixtures that serve different activities should not automatically share one switch. Kitchen ambient lights, pendants and under-cabinet lighting often deserve separate control. A living room can separate general light from wall accents. Exterior lights may use distinct timer, photocell and motion functions. The best grouping makes common settings easy without creating a confusing bank of controls.
LED dimming must be checked as a system. Fixture drivers, total load, switch wiring and the dimmer all matter. Test low-end stability, audible noise, delayed starts and dropout. A quantity selected on the assumption that it can always be dimmed is only sensible when the selected equipment provides a useful, stable dimming range.
- Group by activity, not only by row.
- Keep essential wall operation obvious.
- Confirm neutral and multi-location wiring needs.
- Check manufacturer compatibility information.
- Test the actual low-end result.
Use quantity as the output of the method
After the surfaces, layers, beams, ceiling elements, access conditions and control zones are reviewed, the fixture count becomes defensible. It can still change when a product is selected or concealed conditions are investigated, but each position now has a reason. That is much more useful than applying a generic spacing distance and trying to solve comfort with a dimmer later.
For an estimate, provide dimensions, ceiling height, wide room photographs, cabinetry or furniture plans and the preferred fixture family if known. Ask the quote to identify the quantity, model, trim, colour temperature, dimmer, switching zones, access assumptions, notification scope and exclusions. Those details let you compare complete plans rather than unexplained totals.
- Keep the measured layout with property records.
- Record model numbers and colour settings.
- Retain dimmer compatibility information.
- Note driver locations where relevant.
- Keep the Certificate of Acceptance for notified work.
Turn the article into a short site-review checklist
Before requesting a price, write down the decisions this article helped you make and the conditions that still require verification. Include dimensions, ceiling height, intended light targets, existing fixtures and controls, access above or beside the area, and product preferences. Wide photographs should show the full ceiling or exterior elevation and normal viewing positions. Do not remove electrical covers or enter unsafe ladder, attic or roof areas to collect information.
Ask the final scope to identify products, fixture quantity, control devices, routing assumptions, protection, cleanup, electrical notification and excluded finish work. Keep the accepted scope, later changes, product documentation, final layout and Certificate of Acceptance for notified work together. Those records give future service work an accurate starting point.
Questions about this topic
Is there a pot-light-per-square-foot rule?
No single rule accounts for beam spread, output, ceiling height, surfaces, furniture and other lighting layers. Square footage can describe room size, but the fixture count should come from a room-specific layout.
How far should pot lights be from a wall?
The useful offset depends on whether the goal is general light, a wall wash, artwork or a counter edge. Fixture photometrics and the target surface matter more than one universal distance.
Should every row be perfectly symmetrical?
Visual order matters, but useful light and ceiling conflicts come first. A controlled adjustment is usually better than a perfectly even row that misses a counter or crowds a vent.
Can a dimmer correct too many fixtures?
A dimmer can lower output, but it cannot remove visible apertures, correct glare or repair poor zoning. Compatibility and low-end performance also need to be verified.
When is the count final?
The count becomes reliable after the room plan, fixture data, ceiling conditions and controls are reviewed. Concealed obstructions may still require a measured location change.
Related Oakville lighting resources
Turn the planning notes into a property-specific scope.
Share the room or exterior area, dimensions, ceiling height, existing lighting, preferred fixtures and safe-to-take photographs. Concealed conditions and current requirements still need to be verified for the actual work.